Timesheet
The user can tap on the ‘Timesheet’ bottom navigation which directs them to the timesheet transactions of the employees.
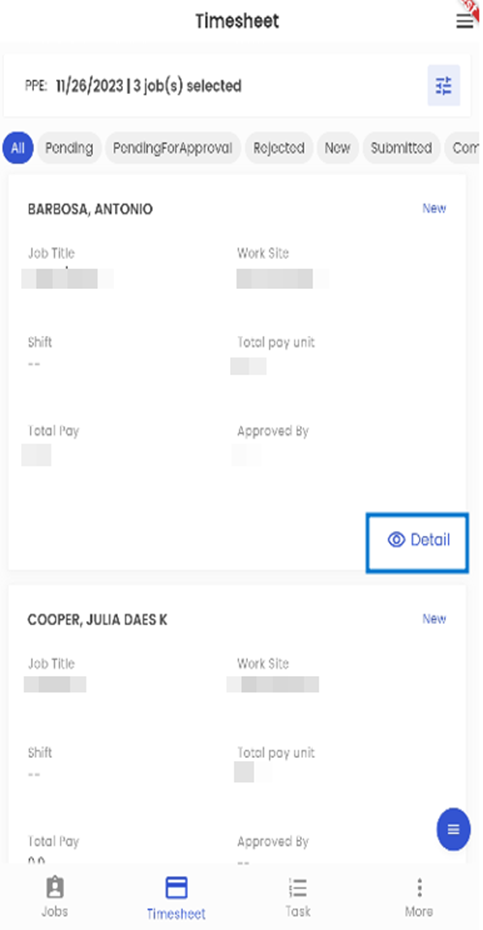
The Pay Period End Date (PPE) and the jobs selected are shown on the top of the screen. Right below it, there are various status of the timesheet transactions that the user can choose from such as All, Pending for approval, Rejected, New, Submitted and Completed. Tapping on these allows the users to view the timesheet transactions of the related stage.
The timesheet transactions of the specific employees are shown in the card view which contains details such as the Name of the employee, Job title, Work site, Shift, Total pay unit, total pay, and approved by.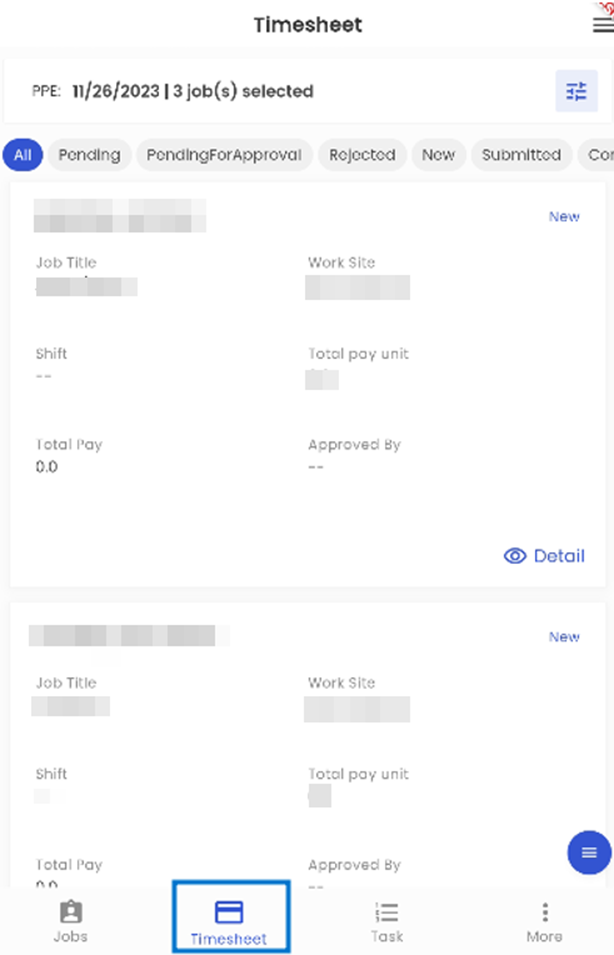
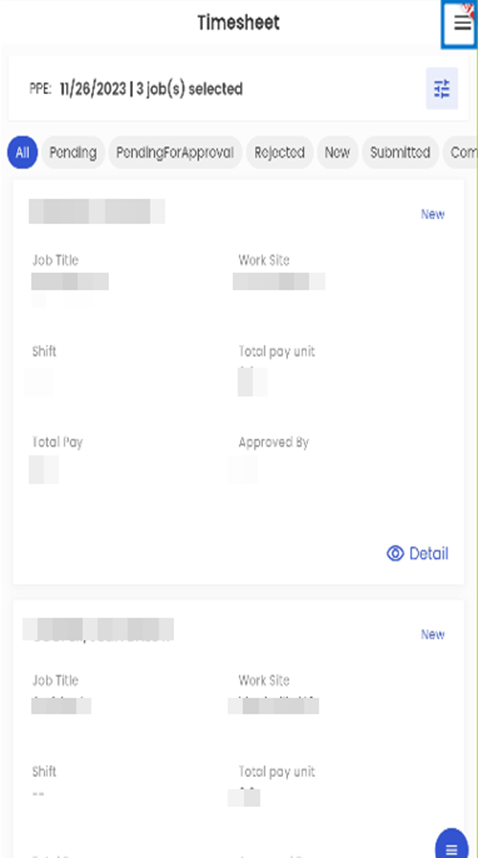
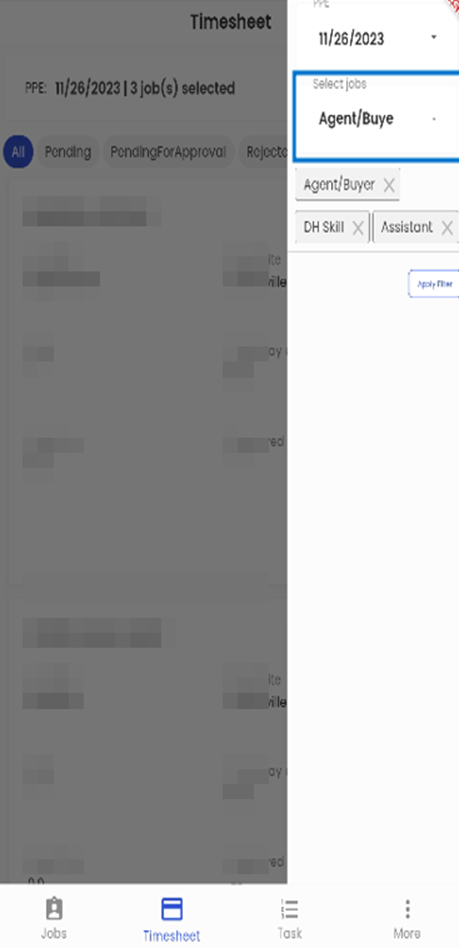
Tapping on the hamburger icon available on the top right side of the screen, the user can get filter options such as PPE, Select Jobs and the selected jobs are displayed on the bottom of the select jobs filter. The user can select these filters and apply them by clicking on the ‘Apply filter’ option available on the bottom of the select options.
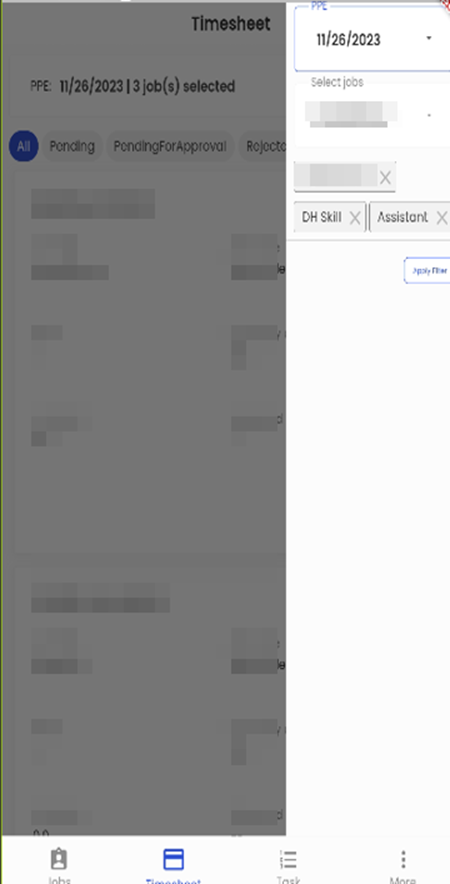
Tapping on the PPE dropdown button allows users to select the Pay Period End Date which they want to view the timesheet transaction details of.

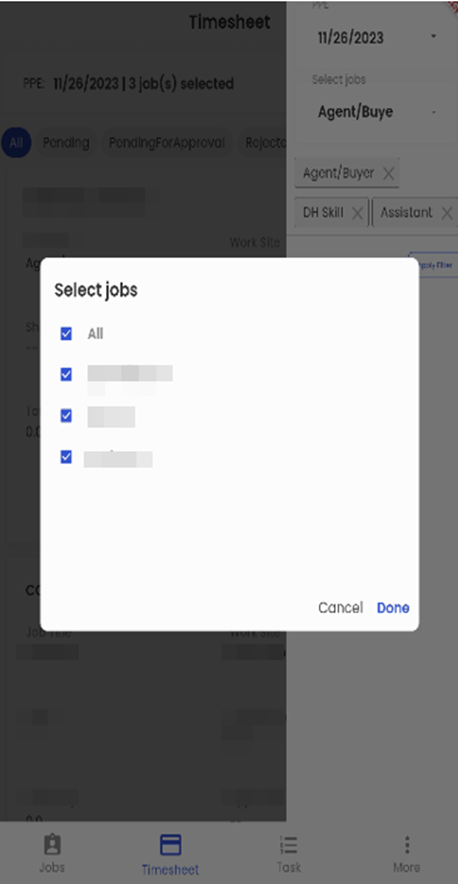
Tapping on the ‘Select Jobs’ dropdown button allows the user to select the jobs of which he wants to view the timesheet transactions.
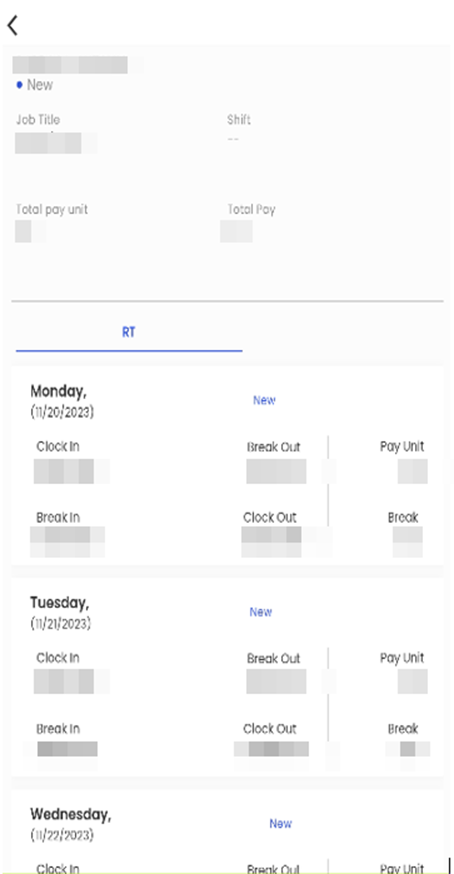
The users can view the details of each timesheet transaction by tapping on the ‘Detail (eye view icon)’. It opens the details of the timesheet transaction and shows details such as the Name of the employee, the status of the timesheet transaction, Job title, Shift, total pay unit, and Total pay.
The bottom part of the screen shows the RT (Regular Time), which shows the time entries of the employee. The timesheet details such as the Day of the week, Date, Status such as ‘New’, Clock In, Break Out, Break In, Clock out, Pay unit and Break.