Overview
‘Office’ main navigation consists of a list of office records in the directory. It allows users to add and edit multiple offices under a specific company with details such as ‘Office Name,’ ‘Status,’ ‘Phone Number,’ ‘Website,’ ‘Address Info,’ and so on. Users can control the accessibility regarding task templates, forms, skills for the office from this navigation.
Users can enable or disable the ‘Active’ toggle button to view active or inactive offices as required. Users can search for the office from the search box. By default, Active offices are displayed.
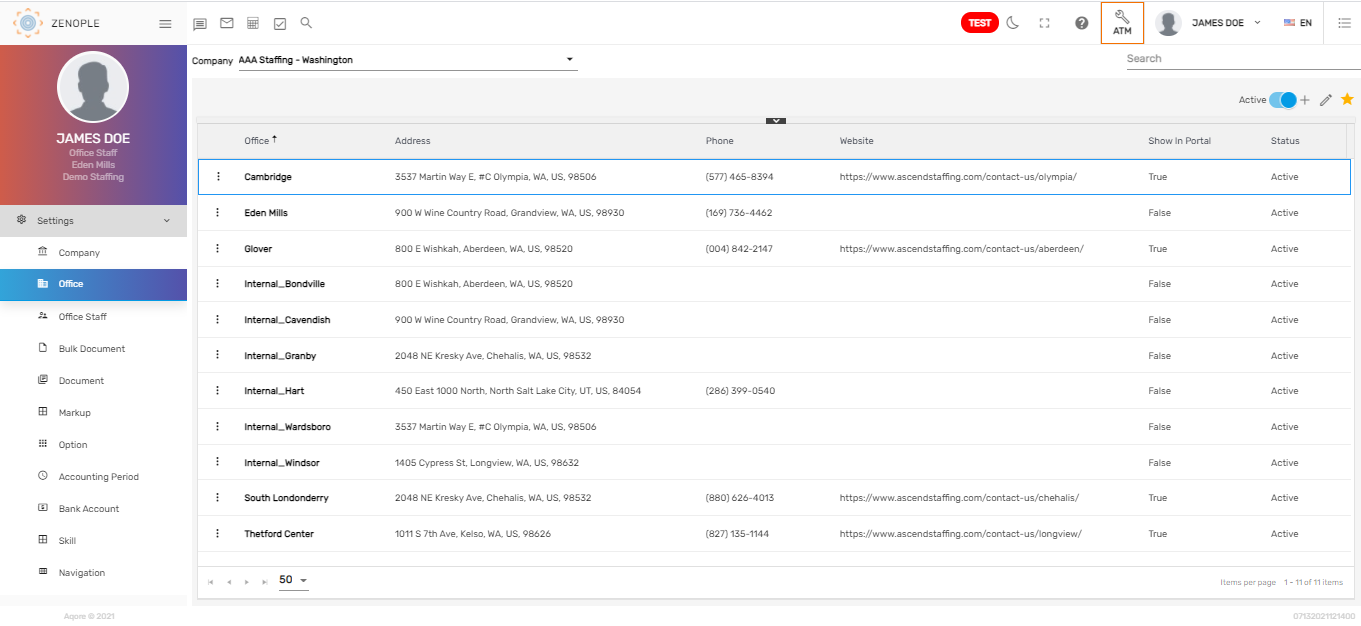
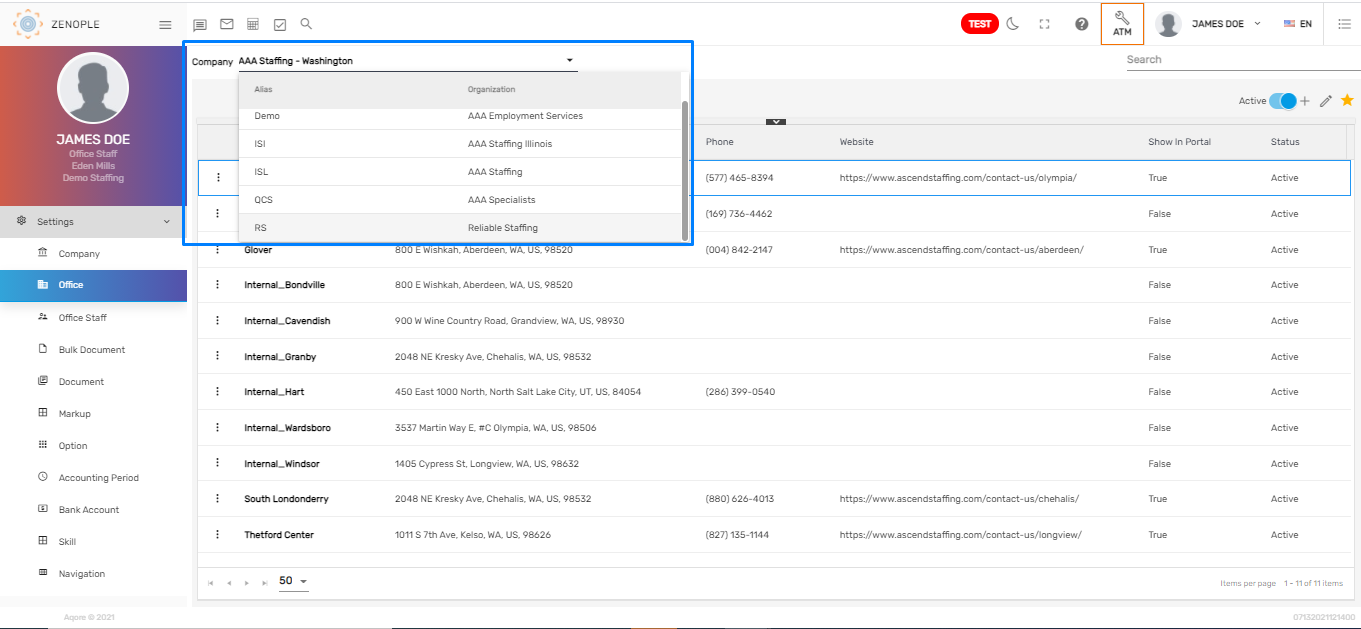
When users add a company from the ‘Company’ main navigation, the added company is displayed as an option in the dropdown under which an office can be created as required.
Favorite Action
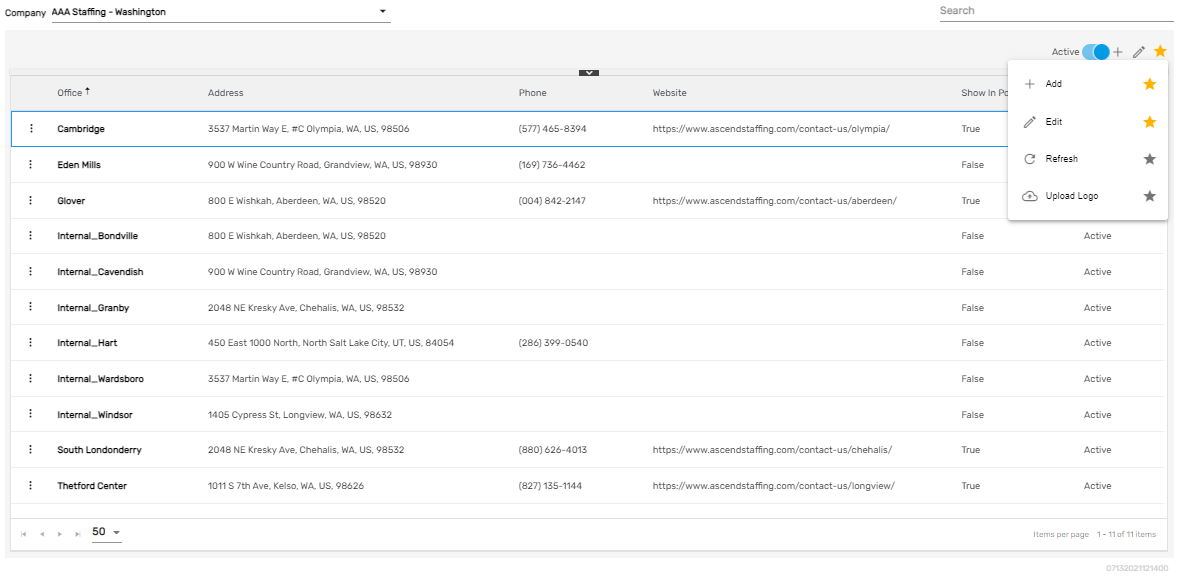
There are four actions in the favorite icon of the 'Office' directory. They are:
- Add
- Edit
- Refresh
- Upload Logo
Add
It allows users to add multiple offices with various office details. The user may ‘Add New Office’ with new office details or ‘Add Existing To Office’ as required similar to the ‘Company’ main navigation.
In case of adding a ‘New Office,’ users must select the company from the dropdown under which the company needs to be created and fill up the information as required. There are six steps to successfully create an office. They are:
- Office
- Access
- Workflow
- Task Template
- Form
- Skill
1. Office
Users need to fill up office-related details such as office name, status, contact number, full address, zip code, and so on.
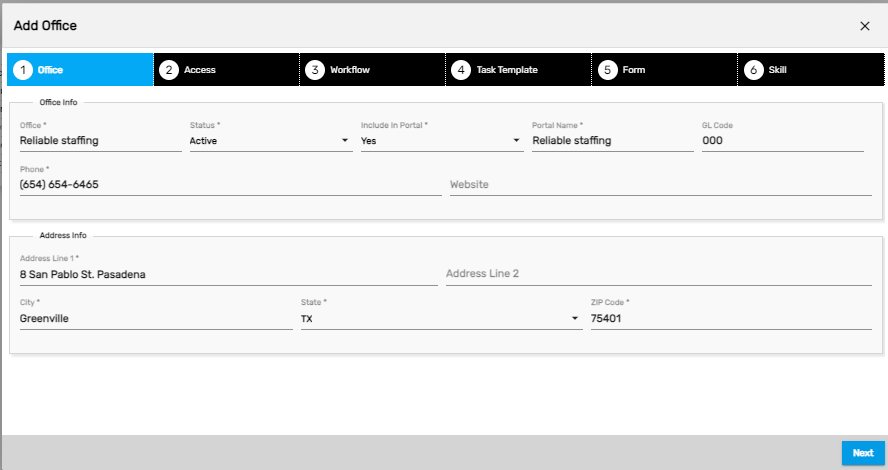
Note: “Include In portal” states that the added office will be displayed as an option in the office for applicants when they sign up from the registration page of the company.
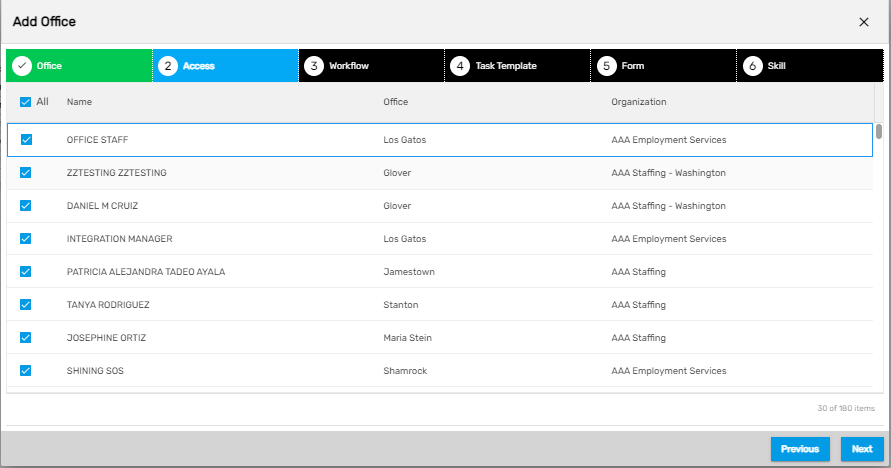
2. Access
Users manage the access for the office in this step.
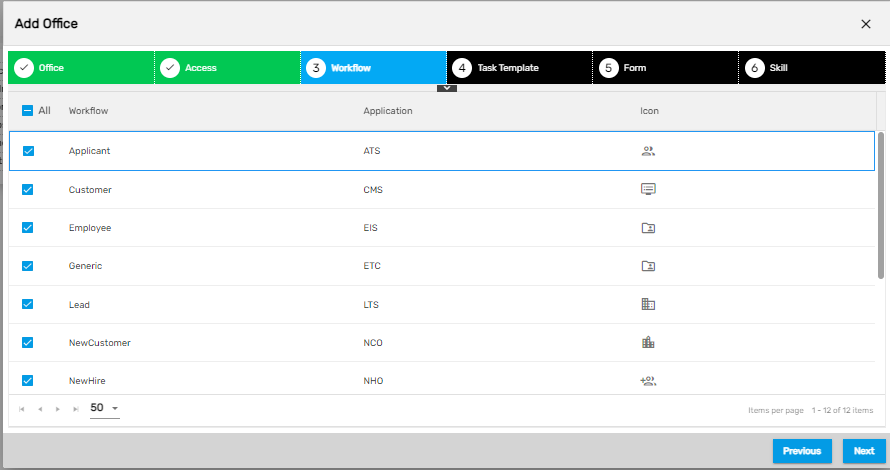
3. Workflow
Users need to select the workflows under various applications required for the office.
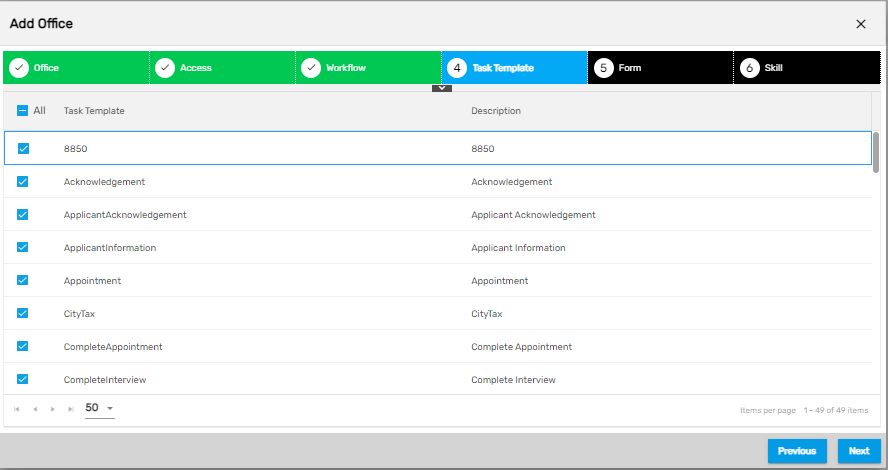
4. Task Template
Users will see related task templates based on the selected workflow selected. Further, users need to select the task templates as required for the office.
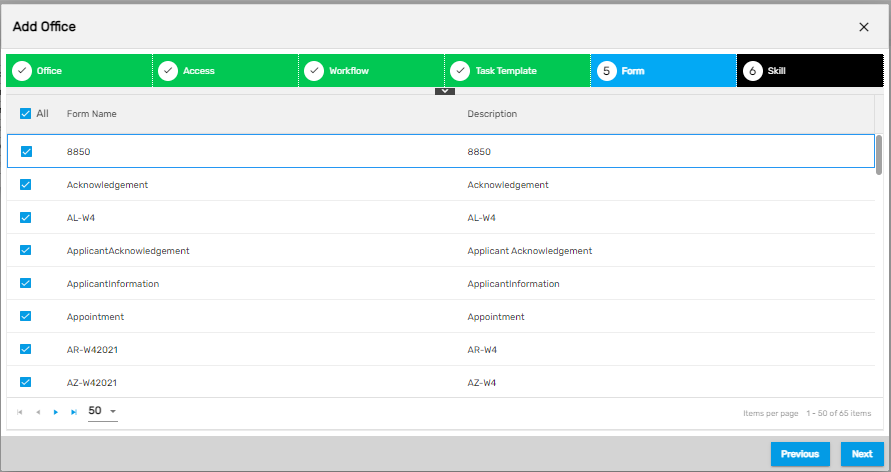
5. Form
Based on the task templates selected, related forms will be displayed. Users need to select the forms as required for the office.
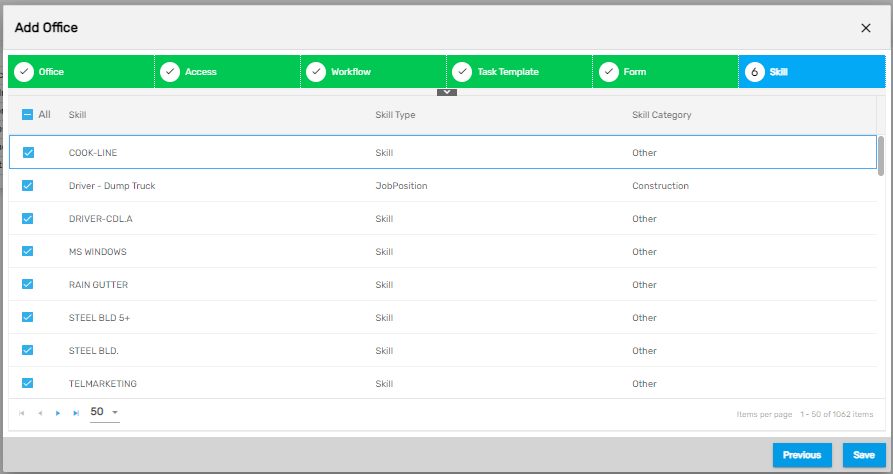
6. Skill
Users need to select the skills which should be accessible to the company. As skills are related to ATS/NHO/EIS/TJM application, employees/applicants/new hires under this office will have access to the selected skill.
In case of adding an ‘Existing company’, users must search for the office from the dropdown.
This will copy all the details from the selected office and allow users to make required changes to create a new office.
Edit
It allows users to edit the office details.
Refresh
It allows users to refresh the office details in case of any changes.
Upload Logo
It allows users to upload the ‘Invoice Logo’ for the office which will be reflected in all the invoices created by the office. The standard image resolution is 346X137 and 155 PPI resolution.
