Overview
‘Bank Account’ consists of a list of banks with details such as ‘Account Number,’ ‘Account Type,’ ‘Routing Number,’ ‘Description,’ ‘Bank type,’ ‘Status,’ and so on. It allows users to set up and edit multiple bank details under a specific company as required. These banks will be displayed as options while adding bank accounts for an employee, during the payroll process, invoices based on the bank type added under the particular company. Users can enable or disable the ‘Active’ toggle button to view active or inactive bank accounts as required and also search for the banks from the search box. By default, Active bank accounts are displayed. 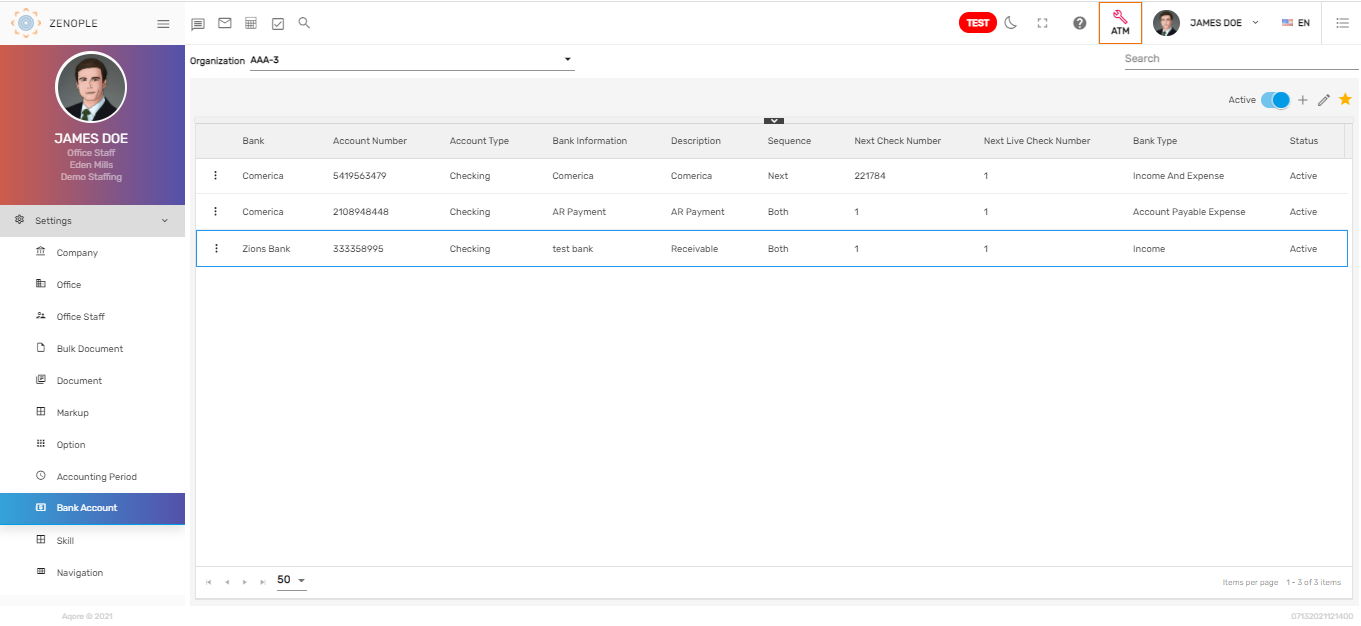
Bank Account types in Zenople are very important to understand as each bank account type plays various roles in the overall application. There are five types of bank accounts. They are:
- Income
- Expense
- Income and Expense
- Account Payable Expense
- Invoice Correction
1. Income
This type of bank account defines the account that will be used for invoicing. It is displayed in Accounts Receivable System (ARS) while creating an Account Receivable batch.

2. Expense
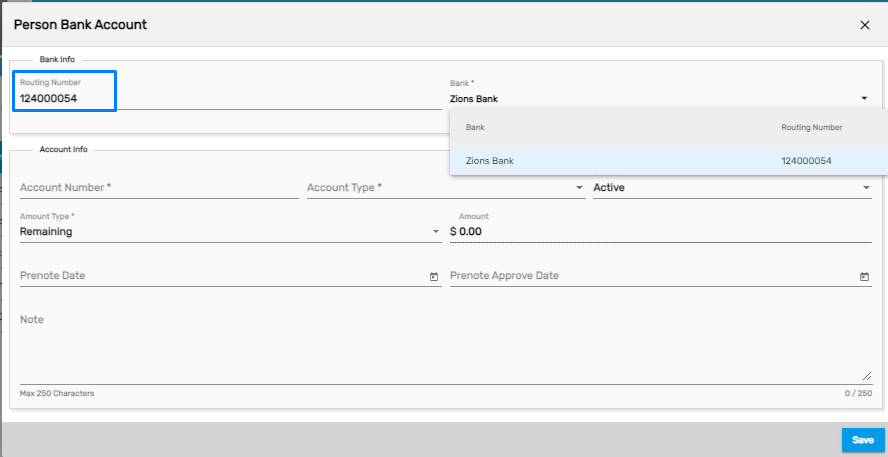
This type of bank account defines the account that will be used for payroll. It is displayed while adding a bank account for an ‘Employee’ in the 'Payroll' top navigation of the employee detail page.
Users must enter the correct ‘Routing Number’ for the bank to be displayed as an option while adding bank accounts for employee’s payroll.
3. Income and Expense
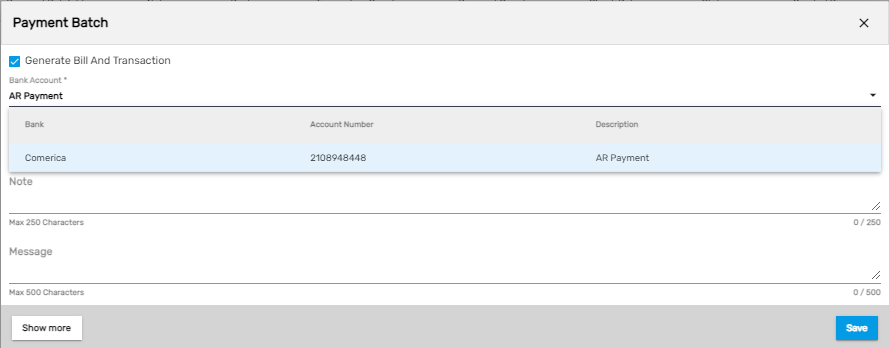
This type of bank account defines the account that will be used for both invoicing and payroll. It is displayed in Accounts Receivable System (ARS) while creating an Account Receivable batch and while adding a bank account for an ‘Employee’ in the 'Payroll' top navigation of the employee detail page.
4. Account Payable Expense
This type of bank account defines the account that will be used for payment to third-party agencies such as child support, insurance, and so on. It is displayed on the Accounts Payable System (APS) while creating an Account Payable batch.
5. Invoice Correction
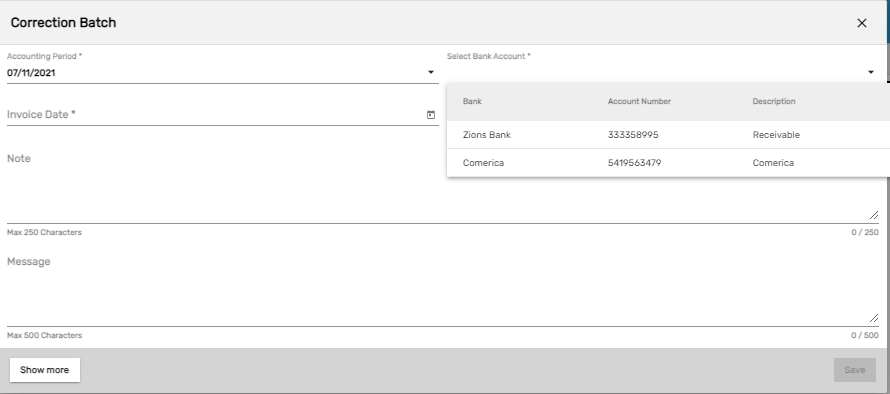
This type of bank account defines the account that will be used for the invoice and it is displayed while adding a correction batch in Invoice Management System (IMS).
Favorite Action
There are three actions under the favorite icon. They are:
- Add
- Edit
- Refresh
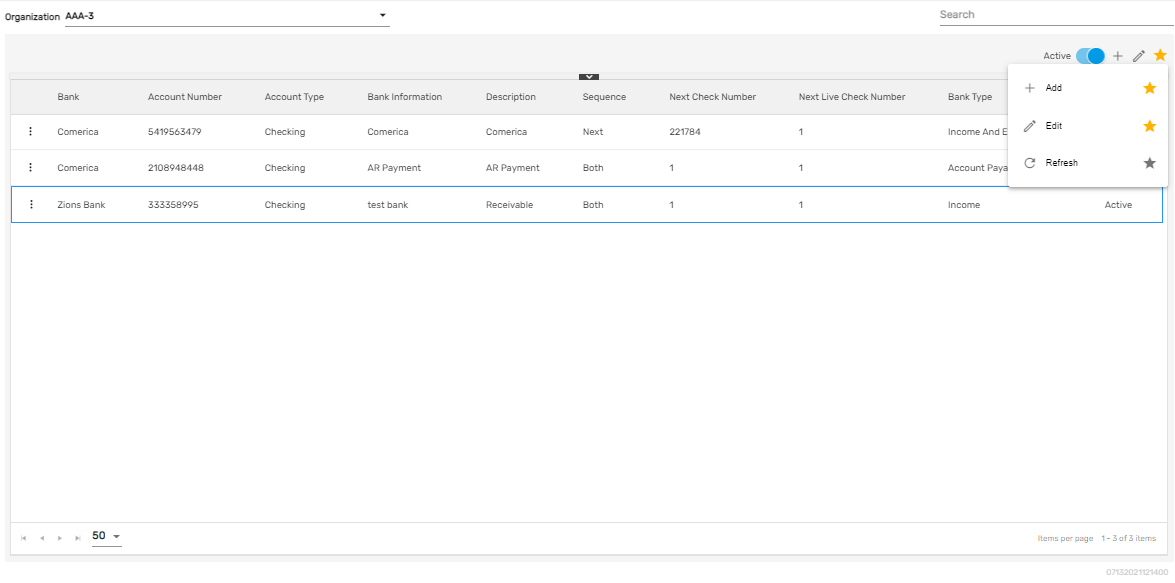
Add
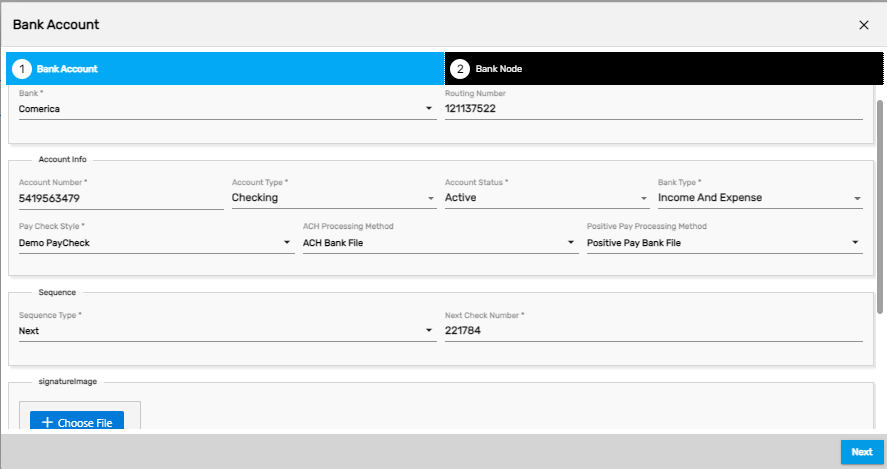
It allows users to set up the bank details including 'Bank Name,' 'Account Number,' 'Routing Number,' 'Sequence,' 'Next Check Number,' 'Ext Live Check Number,' 'Bank Type,' and 'Status.' Users must select the company from the dropdown to add the bank under the selected company. There are two steps to add bank details.
- Bank Account
- Bank Node
1. Bank Account
In this step, users need to fill up bank details and select the required bank account type. Users can upload signature images as required.
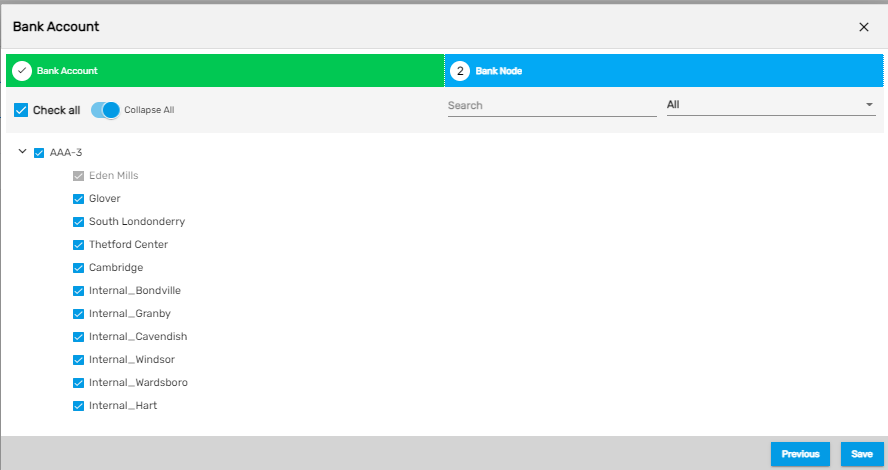
2. Bank Node
In this step, users can set up the access for the bank. The selected offices and companies will have access to the bank and they can select this option for their banking purposes.
Edit
It allows users to edit the bank details as required.
Refresh
It allows users to refresh the bank details if changes are not reflected.