Features added to LTS, SPM. NCO, and CMS
The following features have been added to Organization Applications (Lead Tracking System, Sales Pipeline Management, New Customer Onboarding and Customer Management System):
Users can access the Add button in the Organization directories.
Users can add Leads, Targets, New Customers, and Customers from the respective directories in LTS, SPM, NCO, and CMS. Upon navigating to such directories, users can enter the required details into the form to add the respective entities.


Users can edit entities at Organization Applications
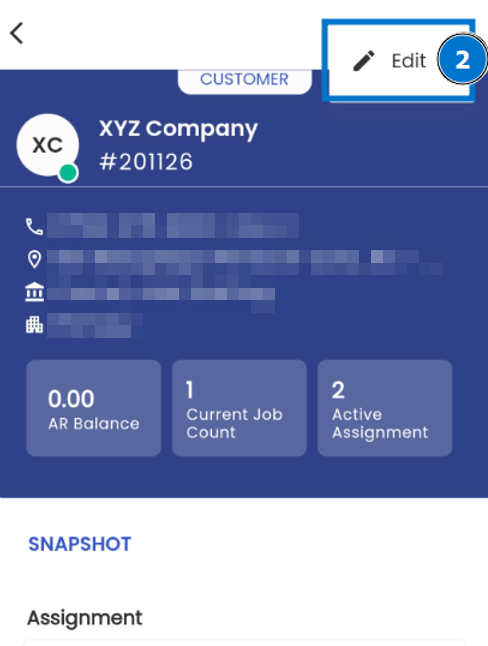
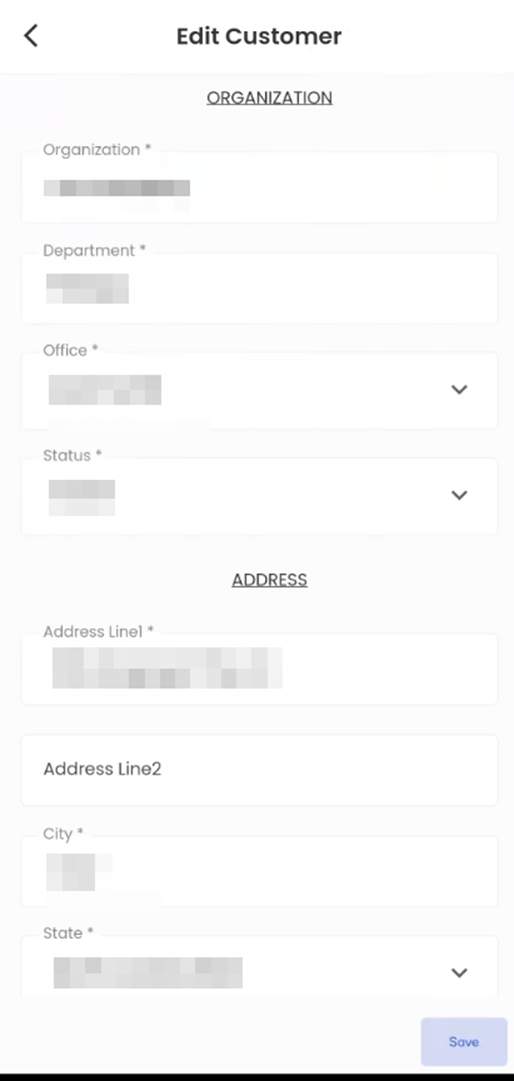
Users can now edit the entities of organization applications through the respective directories of Lead, Target, New Customer, and Customer.
Users can access the edit action through the entity detail page. They can access the edit favorite action to update the details of the entities.
Implementation of OCR feature in Office Staff Application
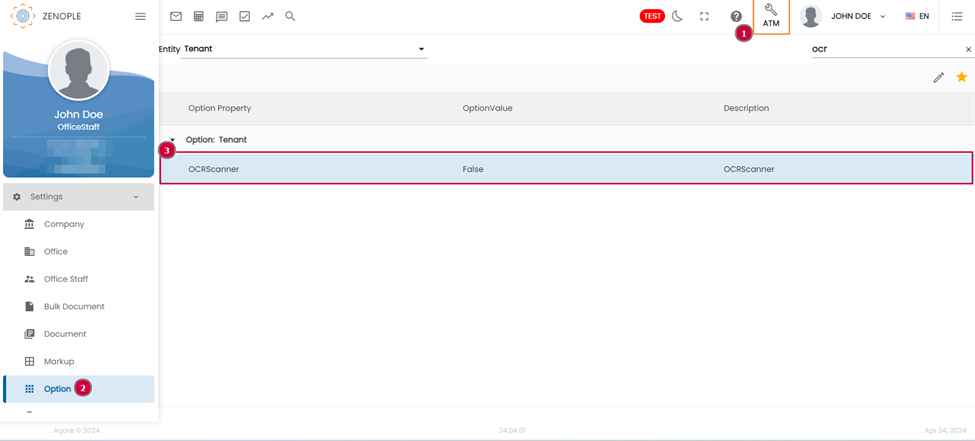
Zenople users can now use the OCR feature to add new customers as well as to add contacts. To enable using the OCR scanner, users can configure the “OCRScanner” option property to true.
Adding Lead/Sales/Customer using OCR Scanner
Users can now add customers using an OCR scanner to save time and effort. For now, users can scan any visiting card/business card to identify the customer details to be added to the system.
Follow the following steps to add a customer using the OCR feature:
- Navigate to any customer application (LTS, SPM, NCO, or CMS).
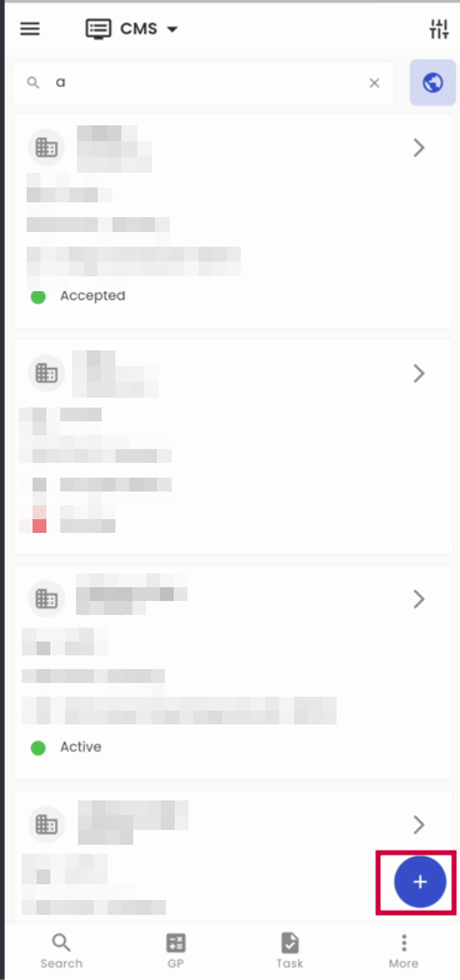
- Navigate to the corresponding Directory Listing (Leads, Sales, New Customer, or Customer) navigation.
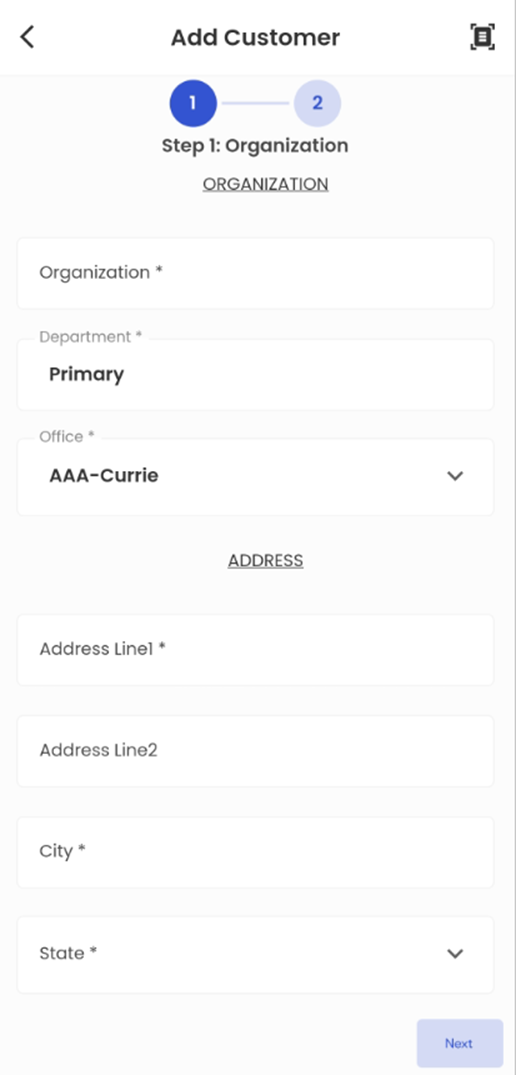
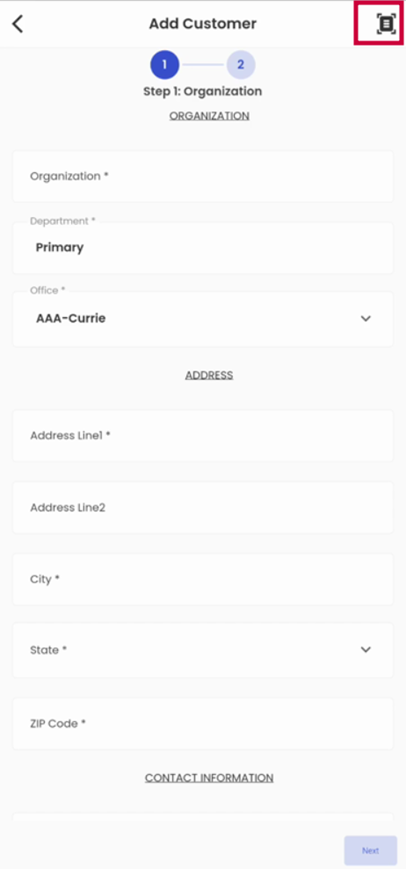
- Click on the Add icon. Form to add a new entity appears.
- Use the OCR scanner icon to open the camera. The user should have already been granted permission to access the camera by the Zenople application.
- Place the business card so that it is fully visible in the camera.
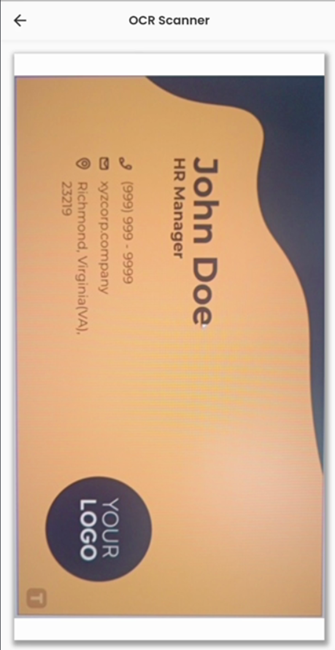
- The OCR scanner scans the information on the business card and populates the available fields.
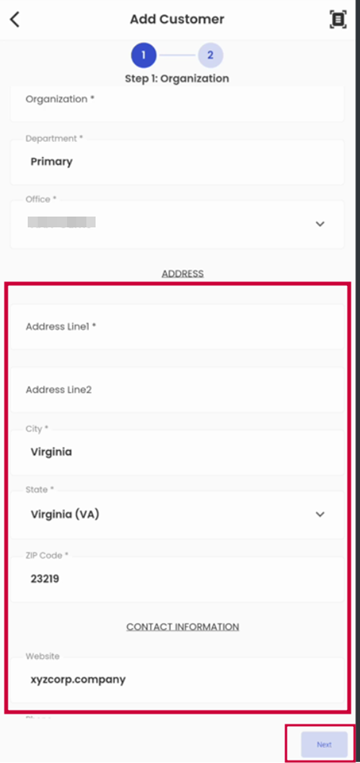
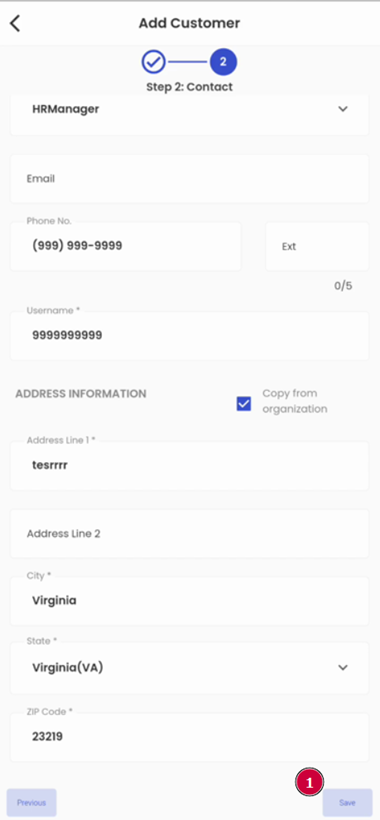
- This step is followed by a new form to add a contact associated with the customer for future reference which can be accessed by pressing the “Next” button as shown in the screenshot. If the scanned business card contains information about a contact such as their name, contact number, email, etc. such information is automatically populated in the form.
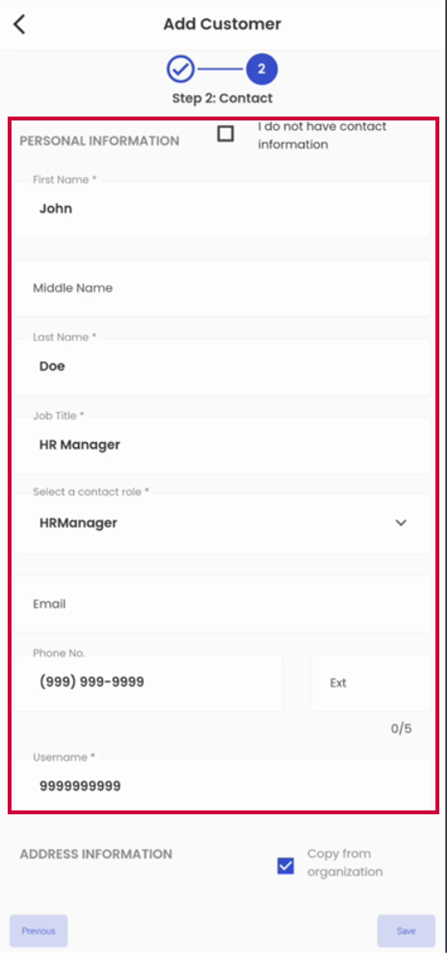
- If there exists a job position of the contact in the business card and the same job position is available in our application as a contact role, the contact role is populated as well.
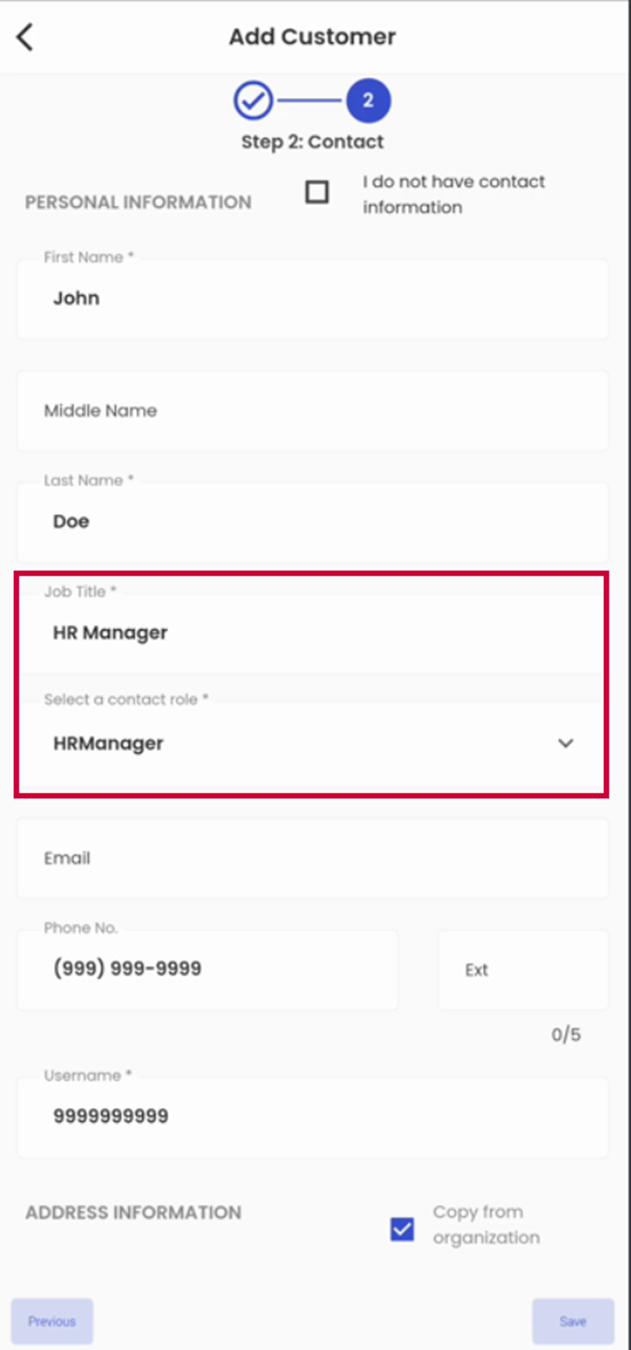
As in our example, the job title of John Doe was HR Manager and the same contact role exists in our system. So, the field “Select a contact role” is automatically populated as HRManager.
- Also, the user can modify any mismatched information obtained from OCR in the form itself.
- Finally, Save the information by pressing the “Save” button as shown in the screenshot.
Adding Contact using OCR scanner
Similar to adding leads, sales, or customers using OCR, users can now also enjoy the OCR feature when adding contacts.
The process to use OCR to add contacts is similar to adding customers through OCR. Follow the following steps to benefit from this feature:
- Navigate to the “Contact” navigation in any of our customer applications (LTS, SPM, NCO, or CMS).
- Click on the Hamburger icon available at the bottom right side of the mobile screen and select the Add option.
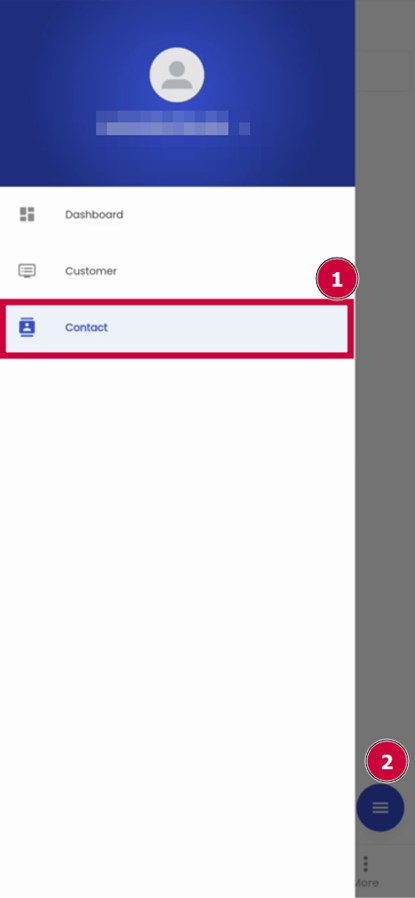
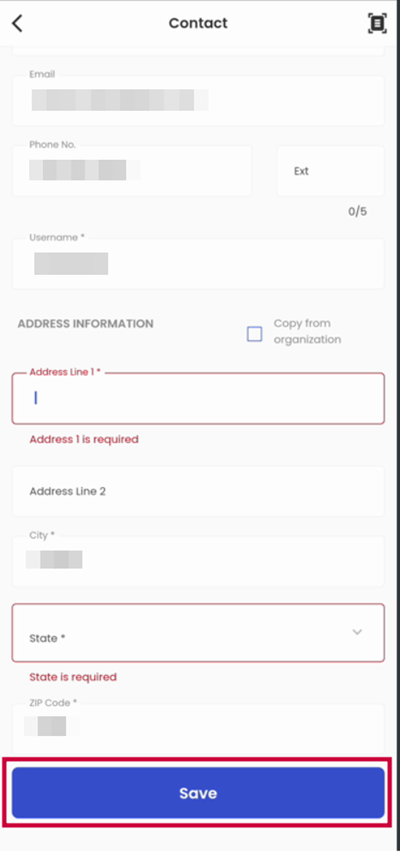
A form to add new contact appears.
- Similar to using OCR feature for adding organization, click on the OCR icon.
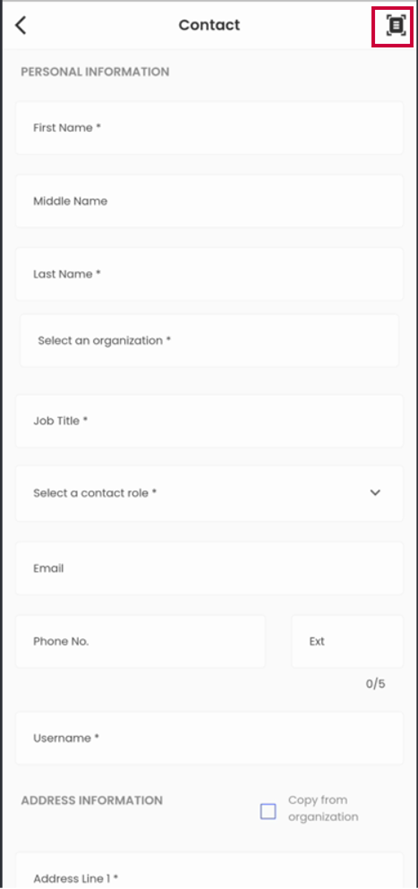
- Similarly, scan the contact’s business card and wait for the system to populate all the extracted fields and enter all required/necessary information.
- Finally, save the contact by pressing the “Save” button available at the bottom of the form.