Add Scheduled Jobs
Users are able to add scheduled jobs through JSM. Below is the detailed explanation of the feature.
Accessing the Add Scheduled Job Slider
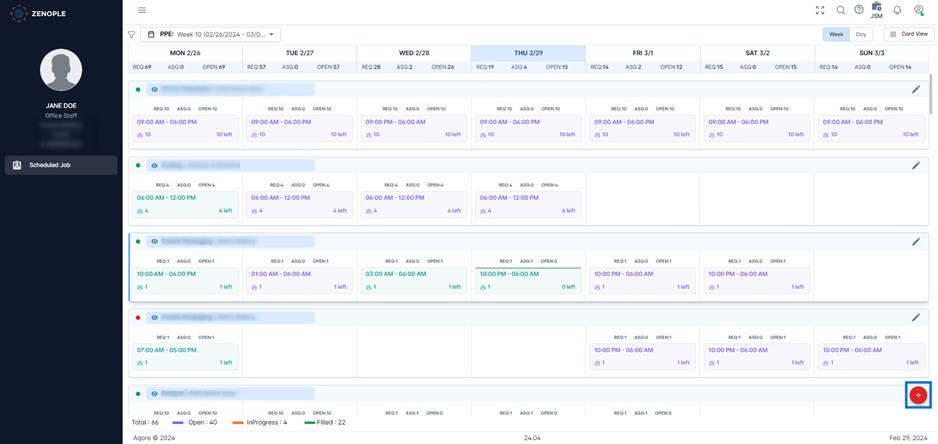
Users can access the Add Scheduled Job page to create a new scheduled job. To initiate this process, users must click on the Add Scheduled Job Icon in the bottom right corner of the Scheduled Jobs directory in JSM.
Adding a Scheduled Job
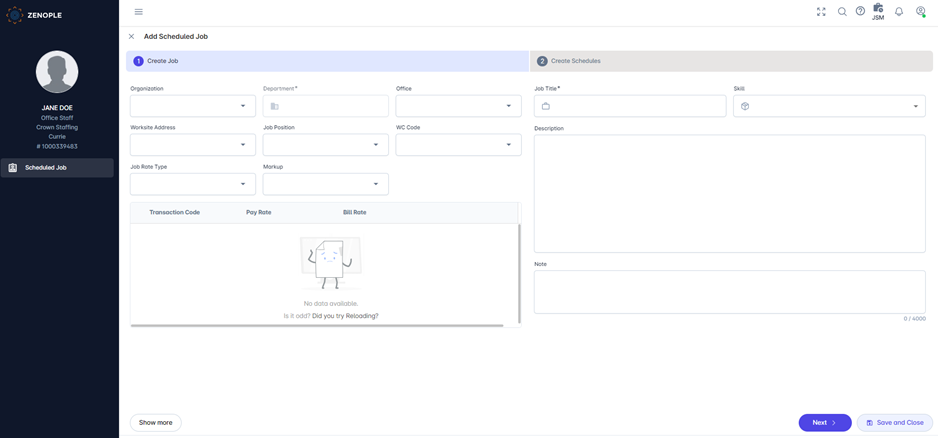
The slider to add a new scheduled job opens a form where users must enter the details to add a new scheduled job. The following fields are required for users to fill out the form:
Field Name | Description |
Organization | Users can search and select the Customer for which they would like to add the Scheduled Job. |
Department | Users can select the department of the Customer for which they would like to add the Scheduled Job through this dropdown field. |
Office | Users can select the office for which they would like to add the scheduled job in this dropdown field. |
Worksite Address | Users can select the Worksite Address of the Scheduled Job through this dropdown field. |
Job Position | Users can select the Job Position for which they would like to add the Scheduled Job. |
WC Code | Users can select the WC Code related to the Job Position. |
Job Rate Type | Users can select the Job Rate Type from the available range of option in the dropdown field which are:
|
Markup | Users can select the Markup from this dropdown field based on the setup of the Customer. |
Job Title | Users get access to a Free Text field where they can enter the Job Title based on how they can identify the job. |
Skill | Users can select the Skills for the job from this Multiselect Field. |
Description | Users can enter the Description related to the Scheduled Job in this Free Text Box. |
Note | Users can enter their required note from this field. |
By utilizing the Show More button located in the bottom left corner of the slider, users can add additional Transaction Codes to the Scheduled Jobs. These Transaction Codes will be displayed in the Transaction Codes section, as illustrated in the screenshot below. Moreover, users can allocate the Rates for each Transaction Code within this section.
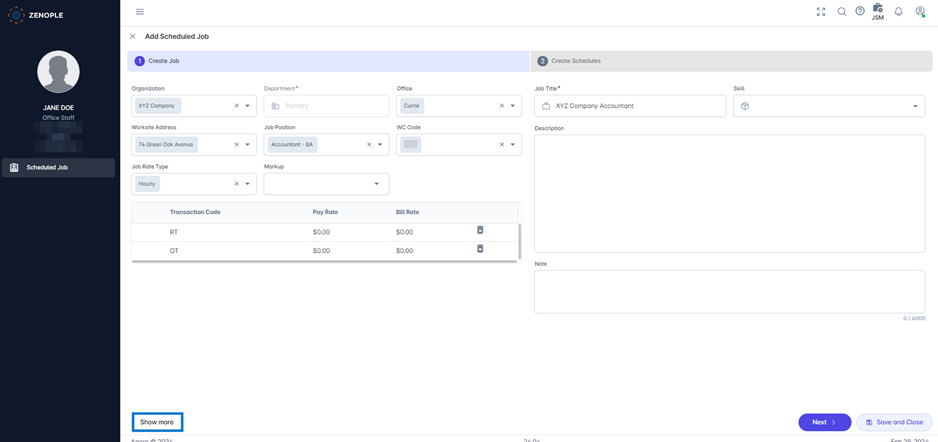
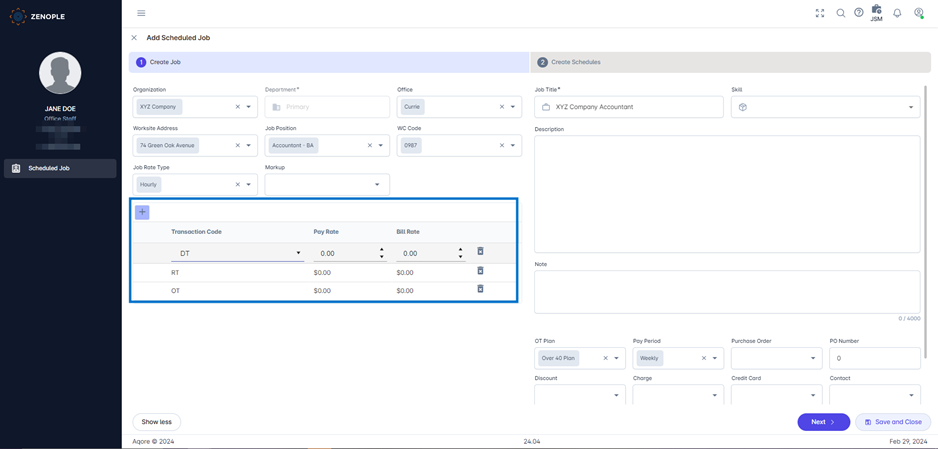
Utilizing the Save and Close button positioned at the bottom of the navigation enables users to add the new Scheduled Job to the system. Conversely, clicking on the Next button allows users to navigate to a new page within the slider, providing them with additional options and functionalities.
Creating Job Schedules
Users can create Job Schedules by clicking on the Next button from the Create Job form. This navigation is divided into two sections. In the left section, users can select the PPE, Days, Shifts, and Required People. Upon clicking the Apply button, the respective Job Schedules are generated and presented in the editable Grid on the right side of the navigation.
The editable grid displays information such as Days, Shifts, Start Time, End Time, and the Required number of people. Users can modify details such as Start Time, End Time, and Required number of people directly within the grid.
Additionally, users have the option to select the Remove All function to clear all previously created Job Schedules from the navigation, allowing for a fresh start if needed.
To navigate back to the Create Job form, users can use the previous button, while the Save and Close button enables them to save the Scheduled Job and close the slider.