Features Added on CMS
The features added on CMS are:
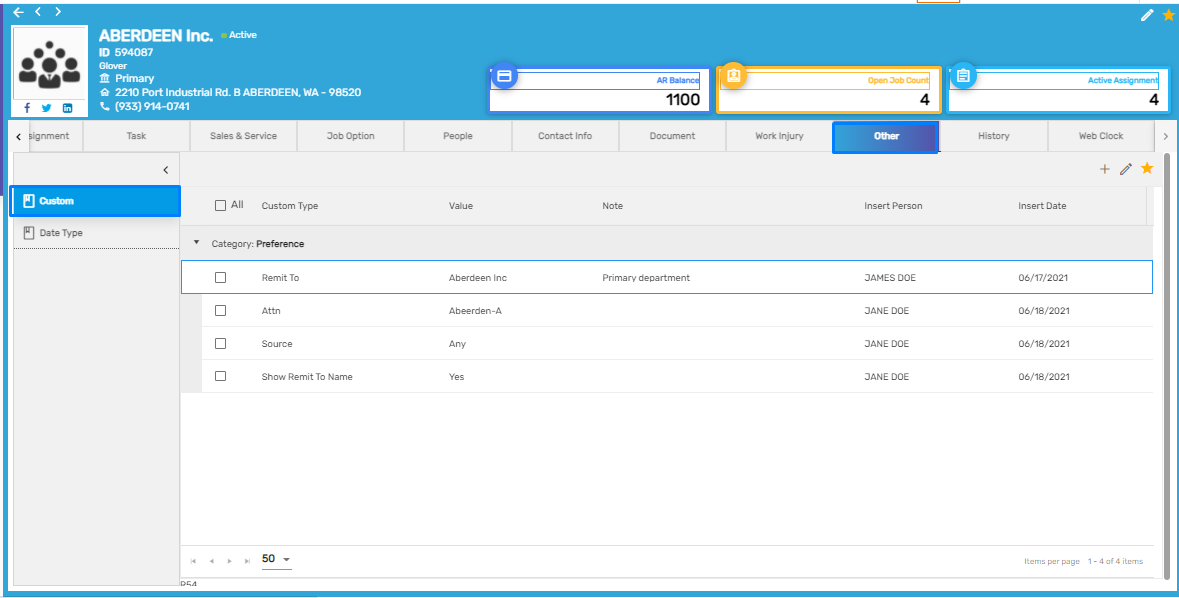
Custom Information Implemented in Snapshot
The information added from the ‘Custom’ side navigation under the ‘Other’ top navigation of Customer Detail will be displayed under the 'Custom' of Snapshot top navigation.
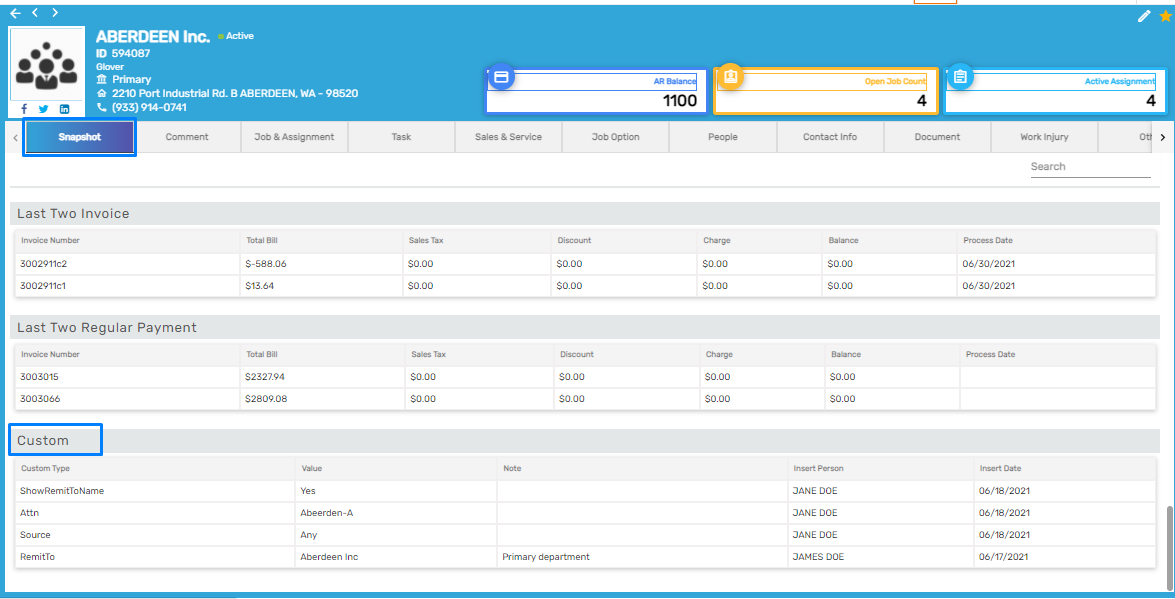
Snapshot
The changes made in the Custom side navigation will be displayed on the 'Custom' of Snapshot top navigation of the Customer Detail.
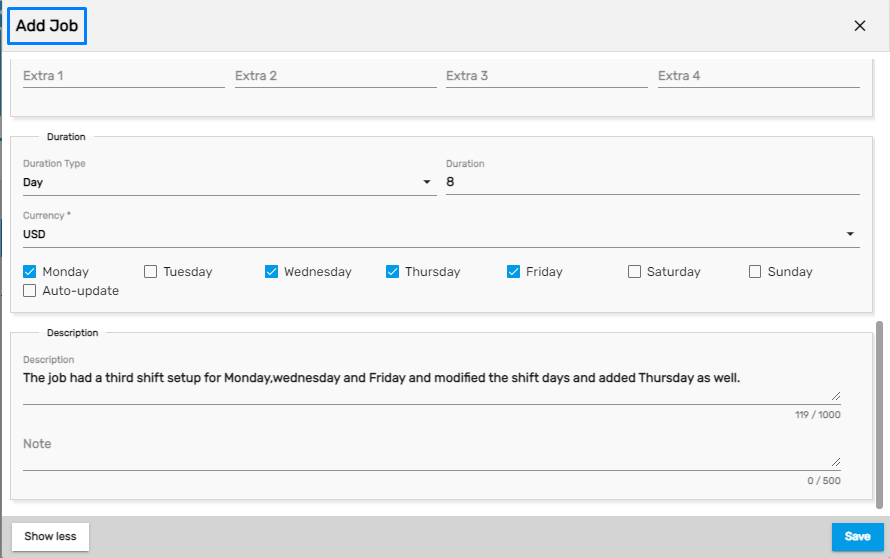
Specific Shift Setup Added
Users will be able to set up specific days as required while adding shifts from the Shift side navigation under the Job Option top navigation in CMS. When users checkmarks the days, this setup for the shift will be populated while adding a job under the customer for the same shift.

However, the users will be able to modify the selection of days for the shifts as required while adding the job.
Improvement: Edit Job
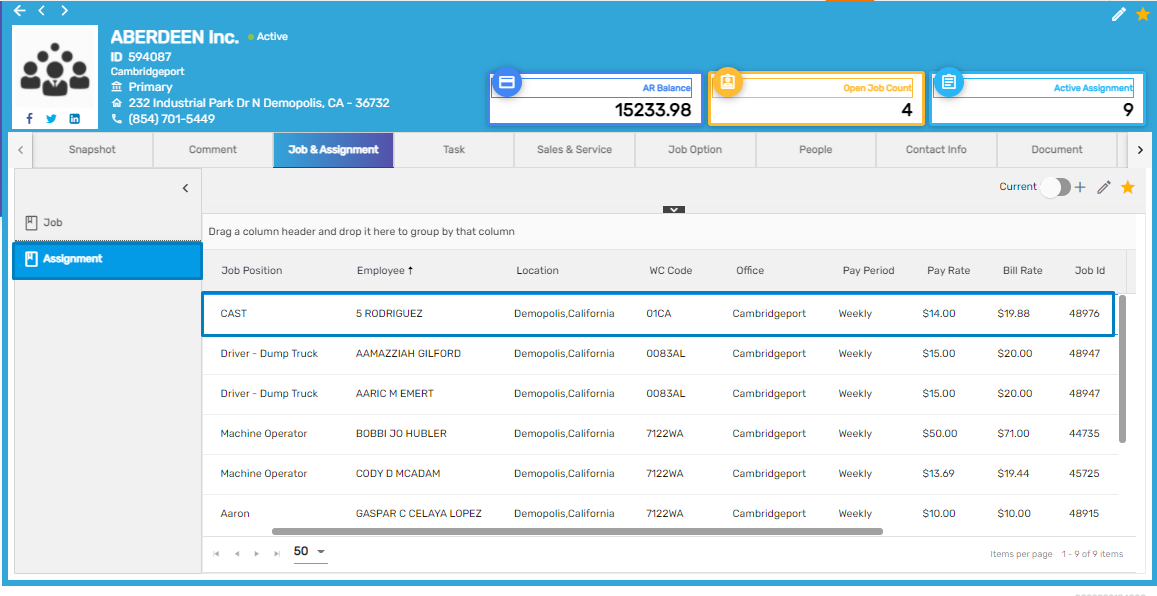
Users will be able to update the job rate while editing jobs.

After changing the job rate from the ‘Edit Job’ icon, a dialog box asking to update the assignment rates of the job will pop up as:
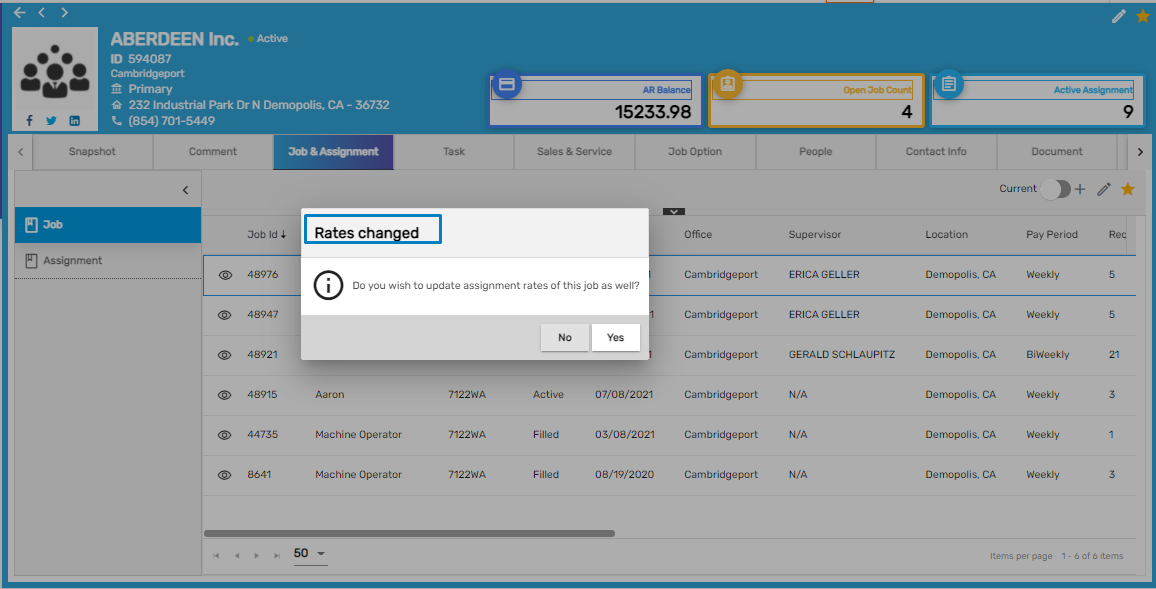
- Once confirmed, the list of assignments under the job will be displayed.
- Select the required assignments that the users want to update the Job Rates of and Save.
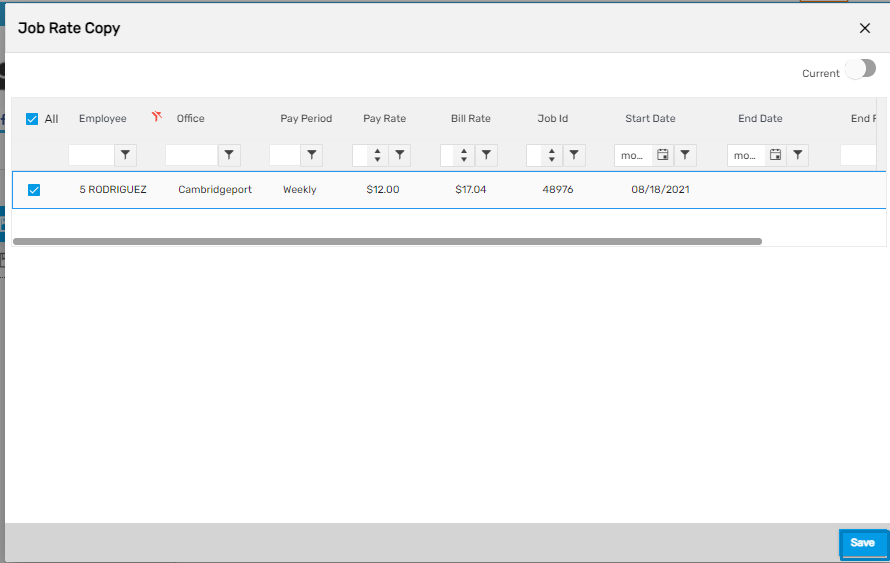
- The selected assignment under the job will be updated accordingly.
Improvement: Edit Markup
Earlier in the case of the existing Markup, the user was only able to edit the 'Markup Name' and other fields were disabled. But now, while editing the existing markup, the user will be able to update the 'Status' of Markup as well.
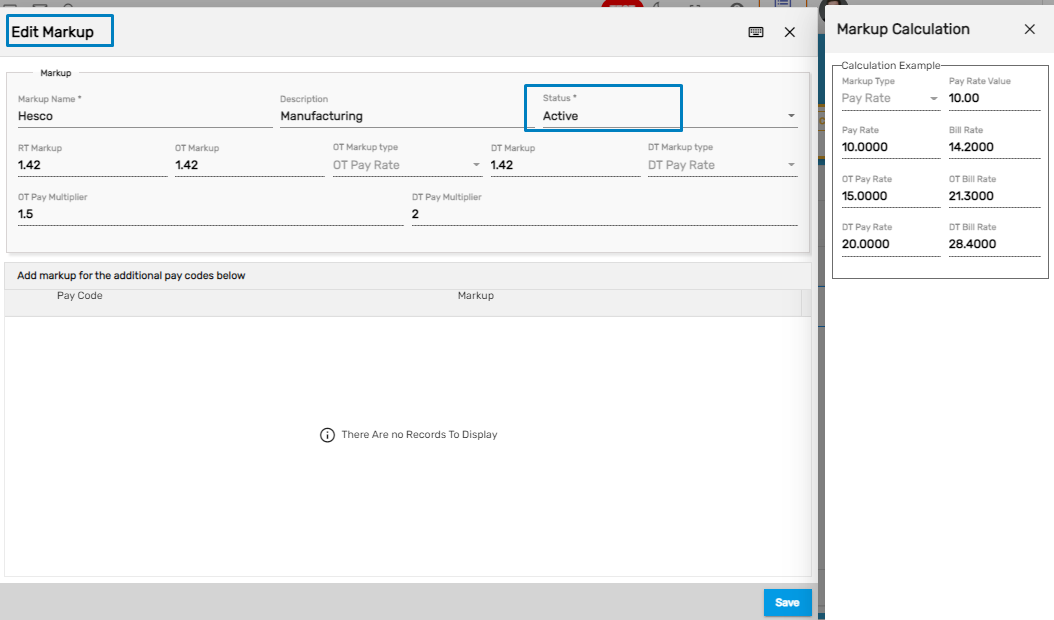
- Also, the inactive markups will not be displayed as options while adding 'Markups' for jobs anymore.

Task Template Navigation Added
Task Template side navigation has been added under the ‘Job Option’ top navigation of Customer Detail. It allows users to add and edit tasks on job and assignment levels. These tasks are set up from the ‘Workflow’ main navigation of the ATM application.
How to Use This Feature
- Users need to set up the task from ATM
- Go to the ATM‘s 'Workflow’ main navigation and edit the Assignment or Tempjob’s workflow as required
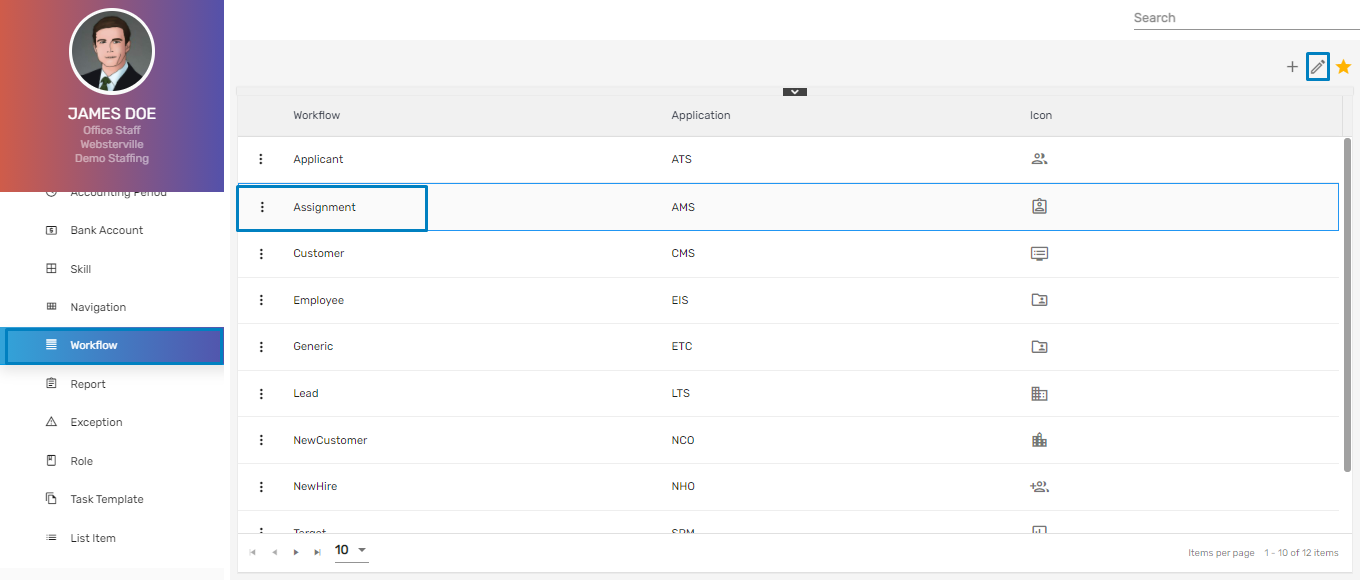
- Go to the 'Task Template' tab of ‘Edit Workflow.’ These assignment tasks are set up from the backend or from Task template navigation and these tasks can be managed and set up on the Job and Assignment level from the ATM.
- Mark the check box of assignments that is to be set up on Assignment level and Save.
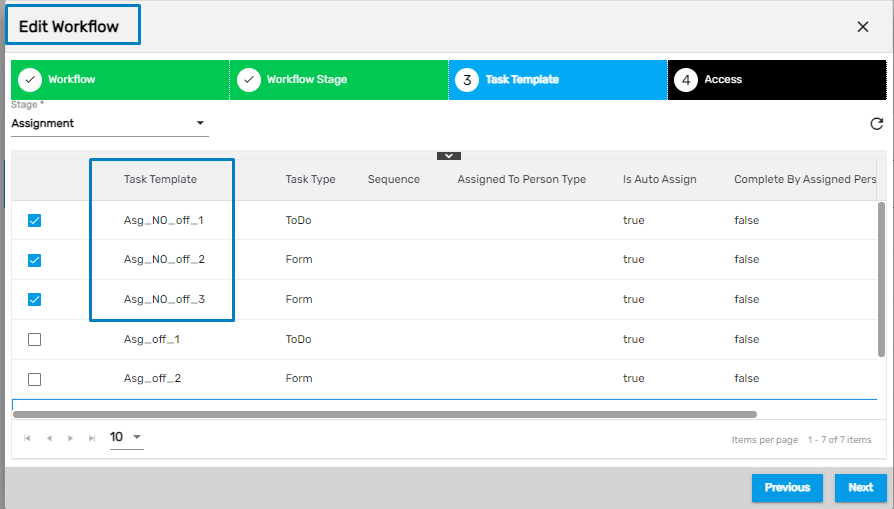
- The ‘IsOfficeLevel’ value as "True" determines if the task templates' is to be reflected automatically for all assignments . If the value is set to ‘False,’ the task templates will have to be added on customer level , followed by adding on assignment level.

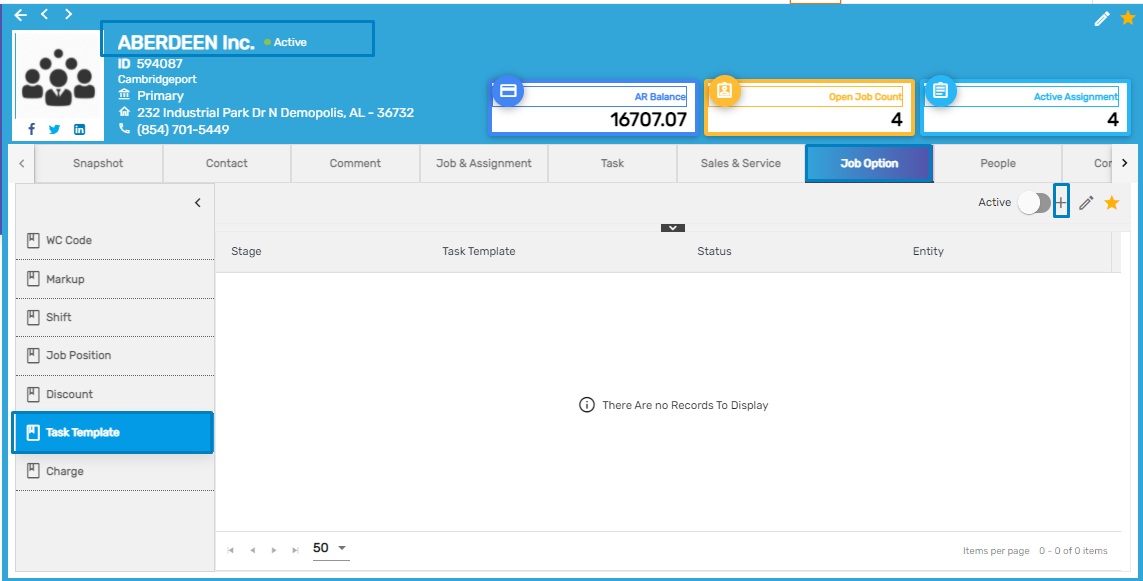
- Incase of False value for "Isofficelevel", go to Customer Detail in CMS and click on Task Template side navigation under 'Job Option' top navigation and click on Add icon.
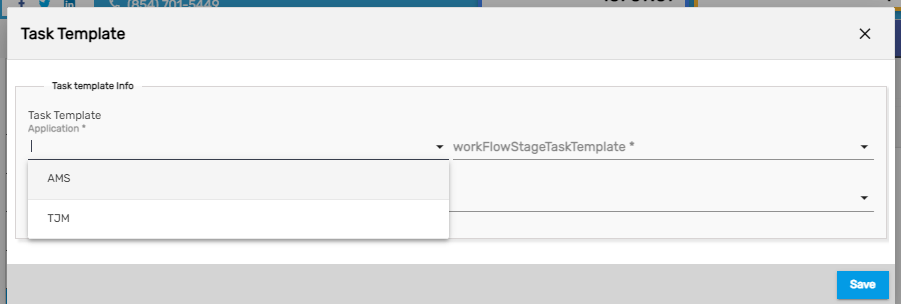
- The users will be able to add Task Templates in the Assignment level of AMS and the Job level of TJM.
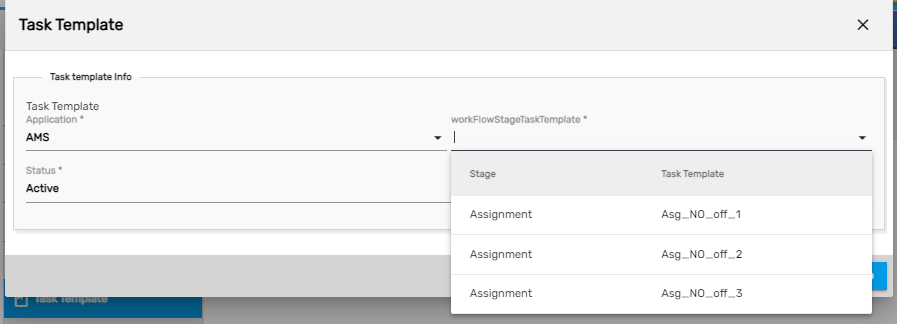
- Task templates of AMS that had ‘IsOfficeLevel’ value set to 'False' will be displayed here as options.
- Select the required task templates and click Save.
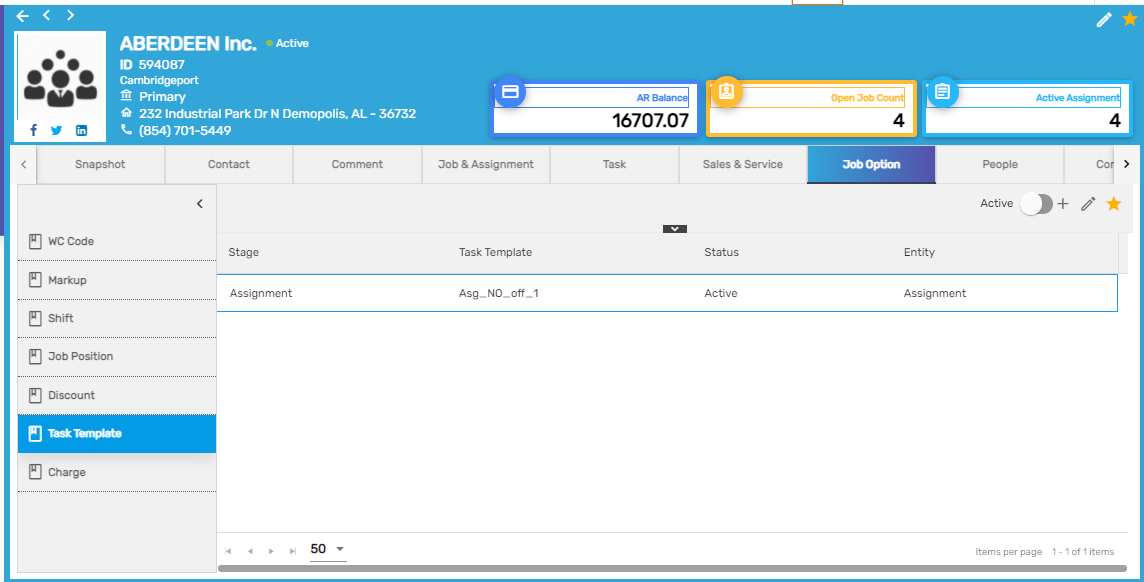
- The added Task Template will be displayed as shown below.
- Users can edit the added Task Template.
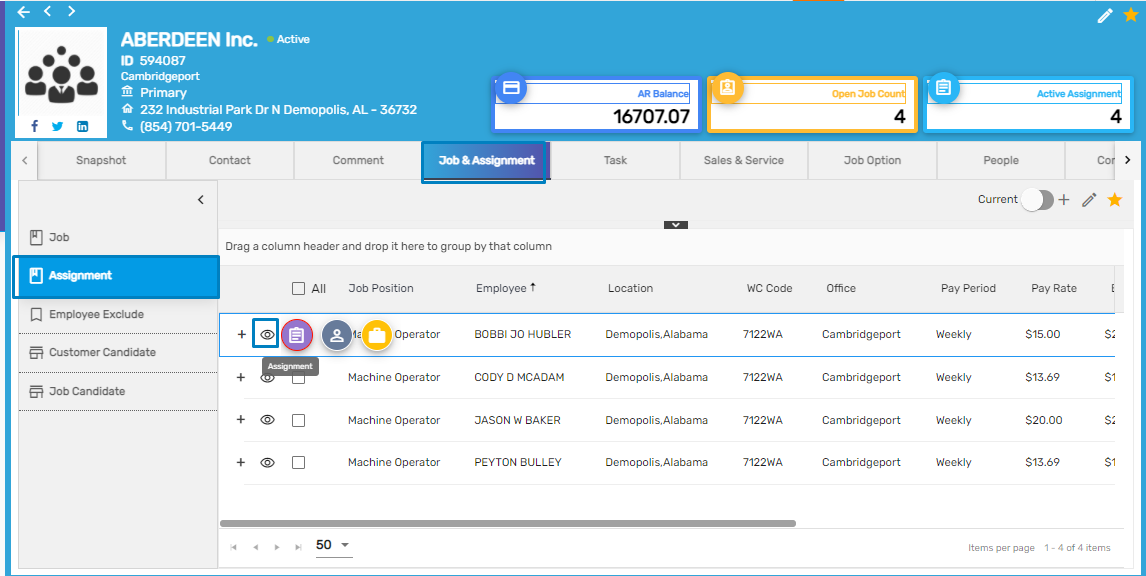
- Go to Job & Assignment top navigation.
- As the task templates were added on the customer level, Users have to add the task templates on the assignment level for the task templates to be reflected on the assignment under the customer.
- Go to Assignment side navigation.
- Hover on the eye view icon of the Assignment which will redirect users to the Assignment Detail.
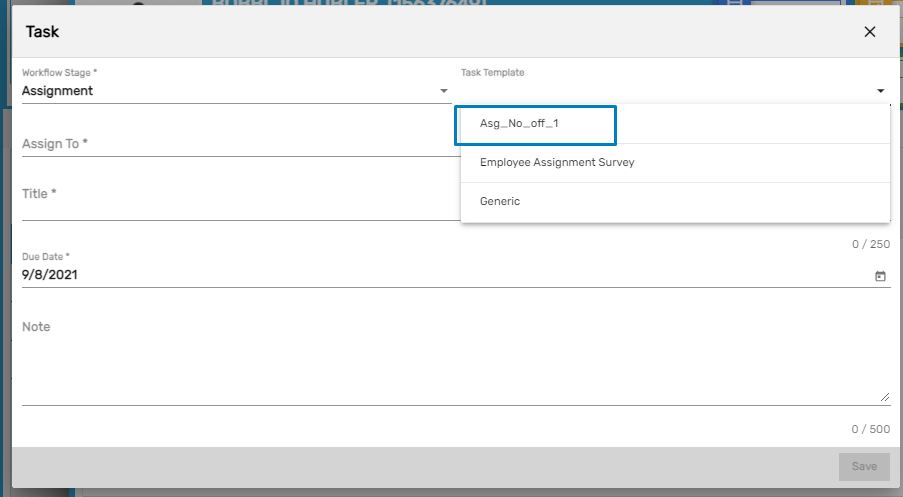
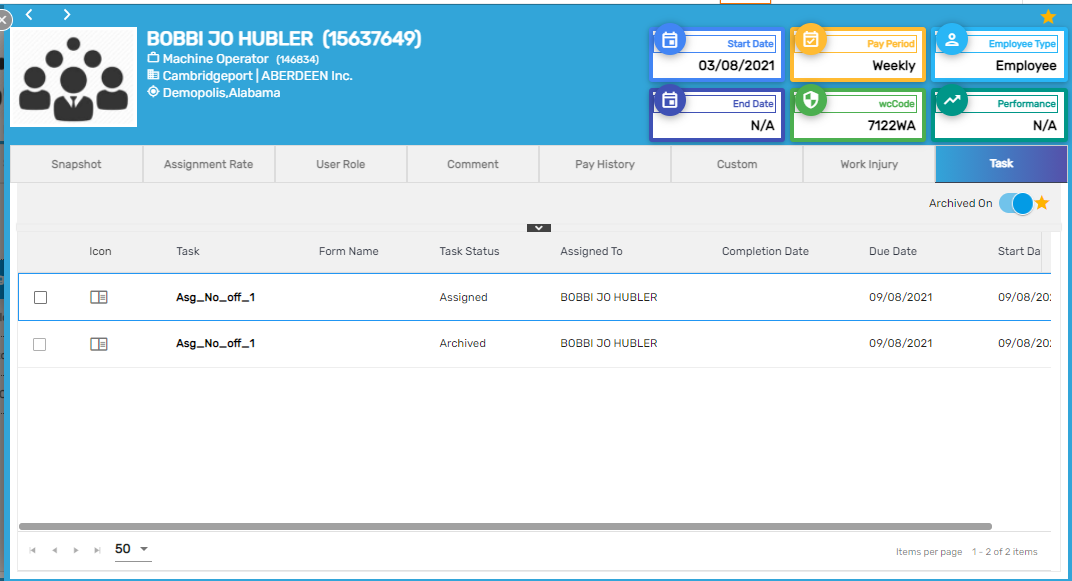
- When users redirect to the Assignment Detail, click on Task top navigation and Add.

- Task Template for assignment added in CMS will be displayed as an option while adding Task in Assignment level.
- Now, the Task will be assigned on Assignment level to the employee.
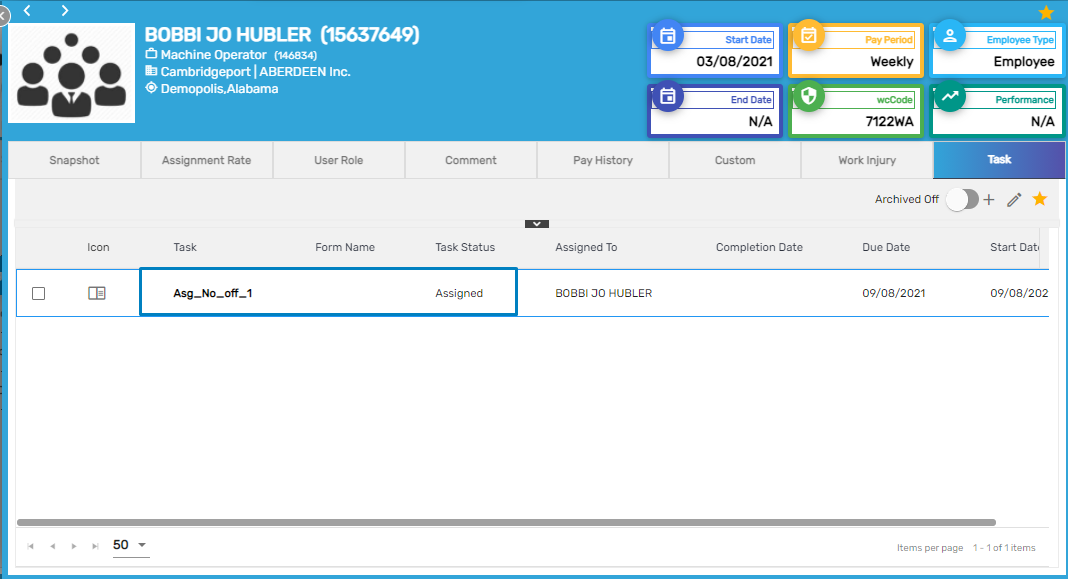
- Like every other task, the task can be archived and reassigned or added again when archived.
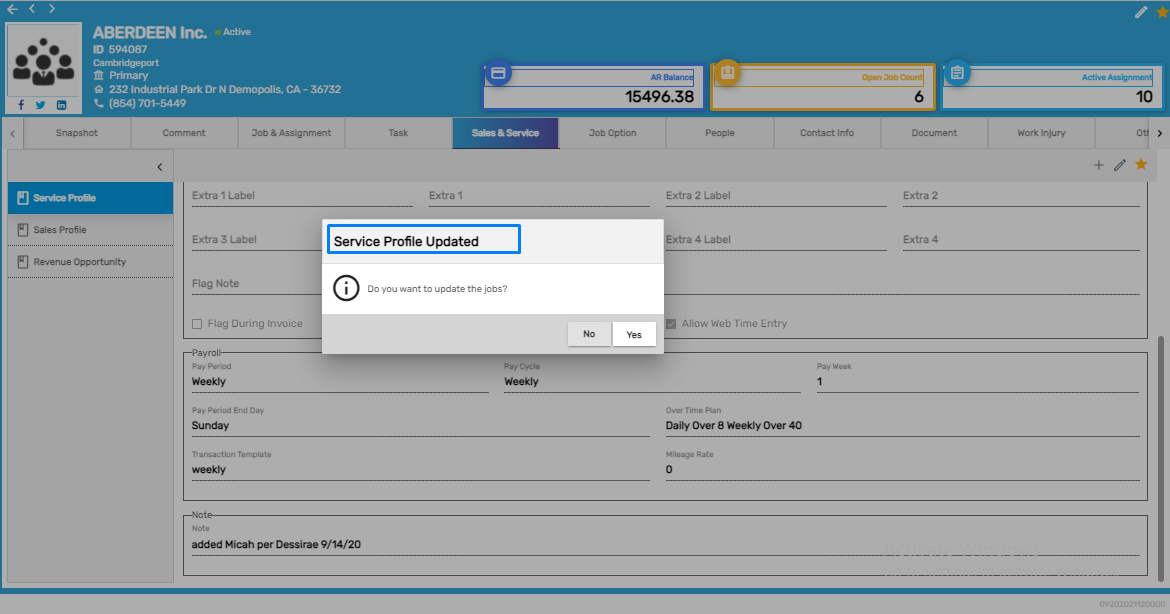
Service Profile Data Update on Job/ Assignment Level Implemented
This allows the users to copy the organization’s service profile data to job and assignment levels as well.
When the user updates the service profile data of the organization as required, a dialog box will be displayed asking the user whether to update the associated job and assignment or not.

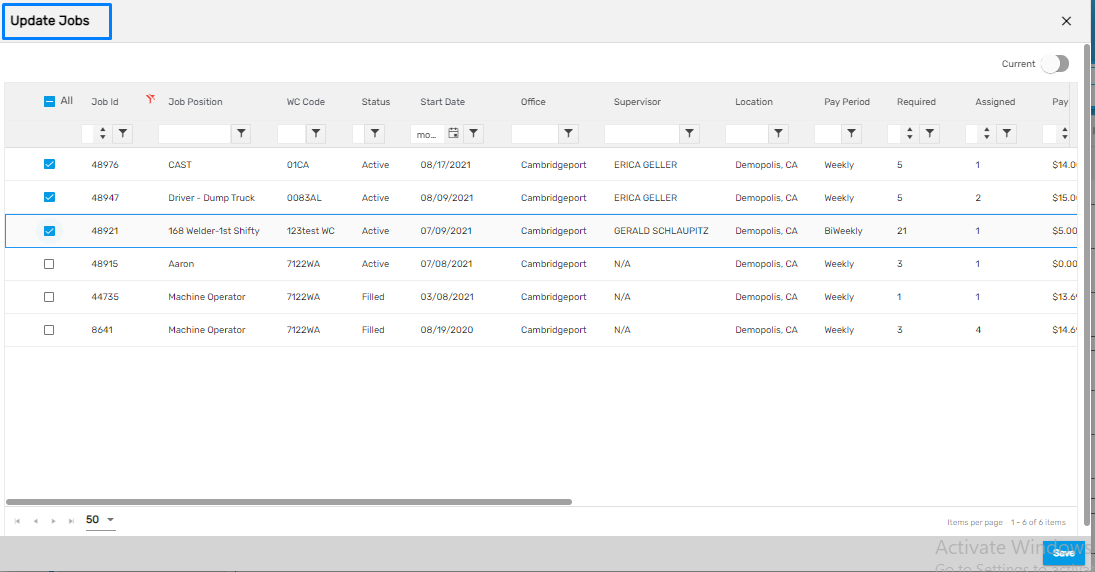
After that, a list of jobs will be displayed, checkbox the jobs on which the service profile changes are to be reflected, and save it.
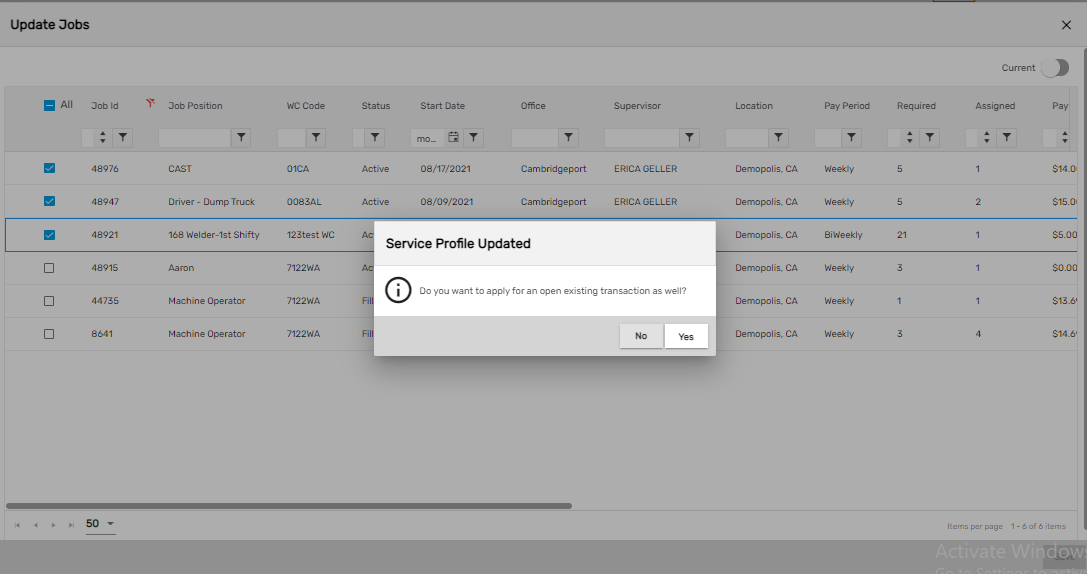
After updating the jobs, a dialog box will be displayed to whether update the service profile data changes for an open transaction or not.
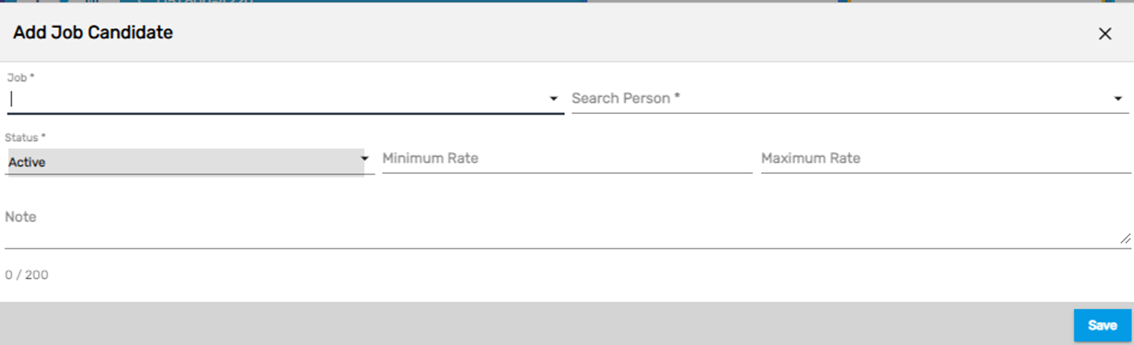
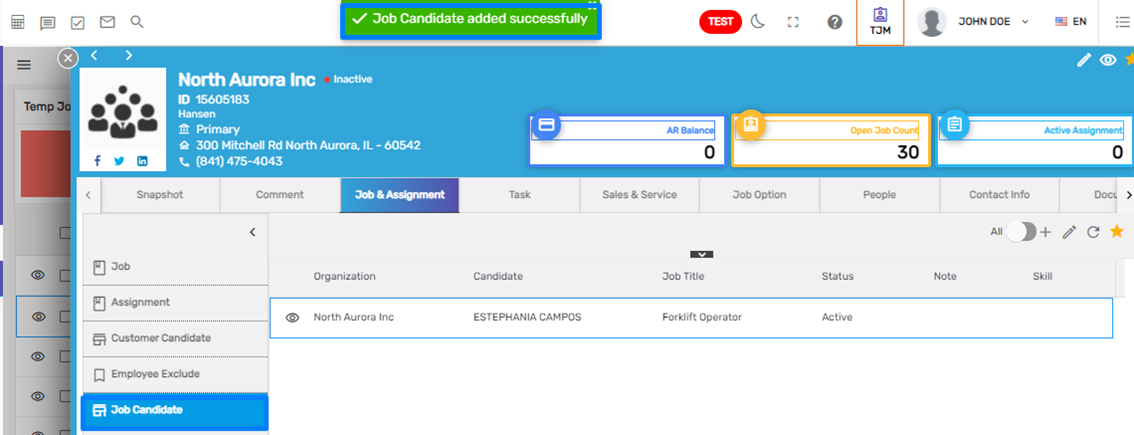
Job Candidate Navigation Added
Job Candidate navigation has been added in CMS application under Job & Assignment top navigation. This navigation helps to track prospective job candidates which may be useful for the job in the future.
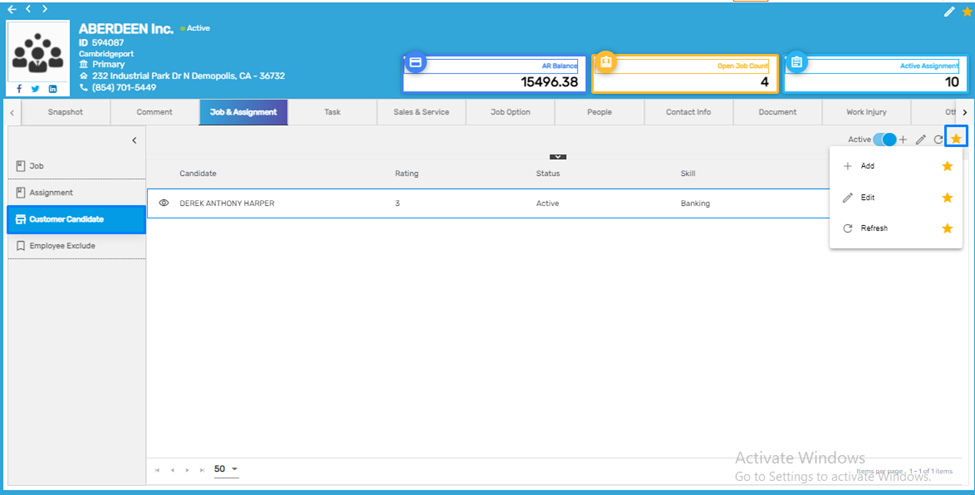
Customer Candidate Side Navigation Added
Customer Candidate side navigation has been added under Job & Assignment top navigation in Customer Detail. This navigation allows users to add and edit candidates for the customer. It displays the candidate's name, ratings for the candidate, status, and skills associated with the candidate.
Favorite Actions
There are three actions under the Favorite icon. They are:
- Add
- Edit
- Refresh
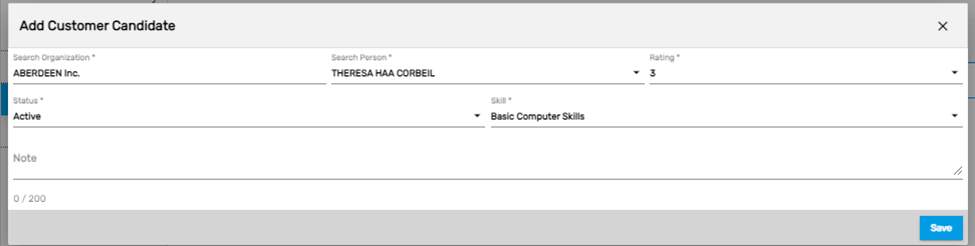
1. Add
It allows users to add the candidate for the customer with the name of the organization, candidate’s name, skill, rating, and status.
2. Edit
It allows users to edit the candidate for the customer with the candidate’s name, skill, rating, and status.
3. Refresh
It allows users to refresh the records of the candidates.
Eye View Icon on Candidates' Name
The eye view icon allows the users to redirect to the candidate’s profile.
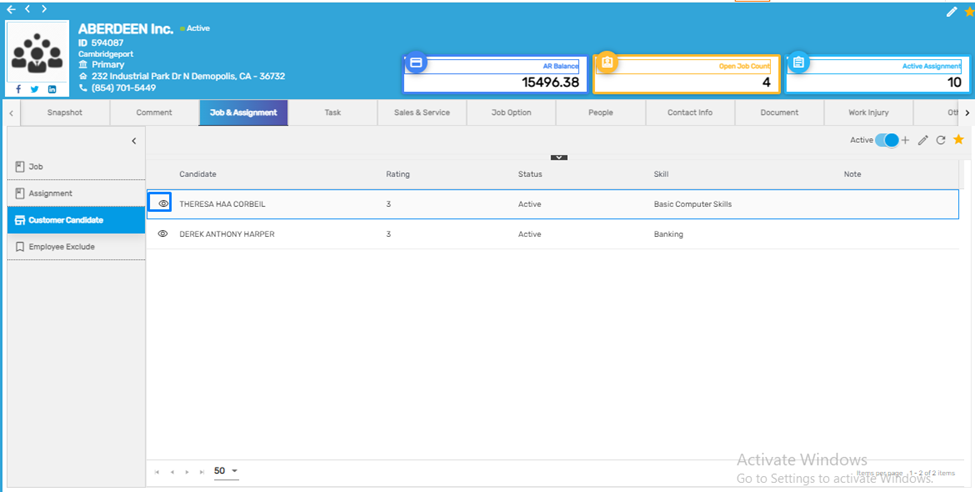
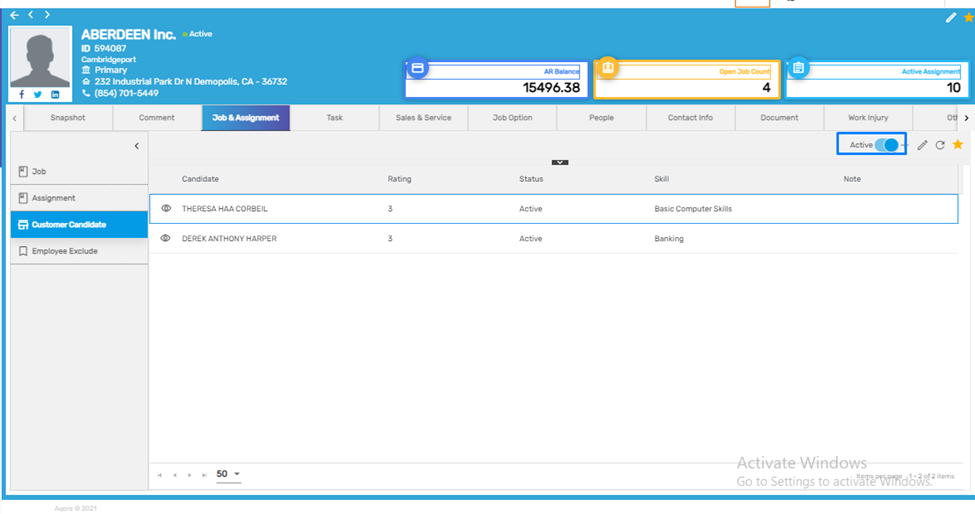
The ‘Active/All’ toggle button allows users to view the candidates that are Active Candidates when enabled and All candidates including both active and inactive candidates when disabled.
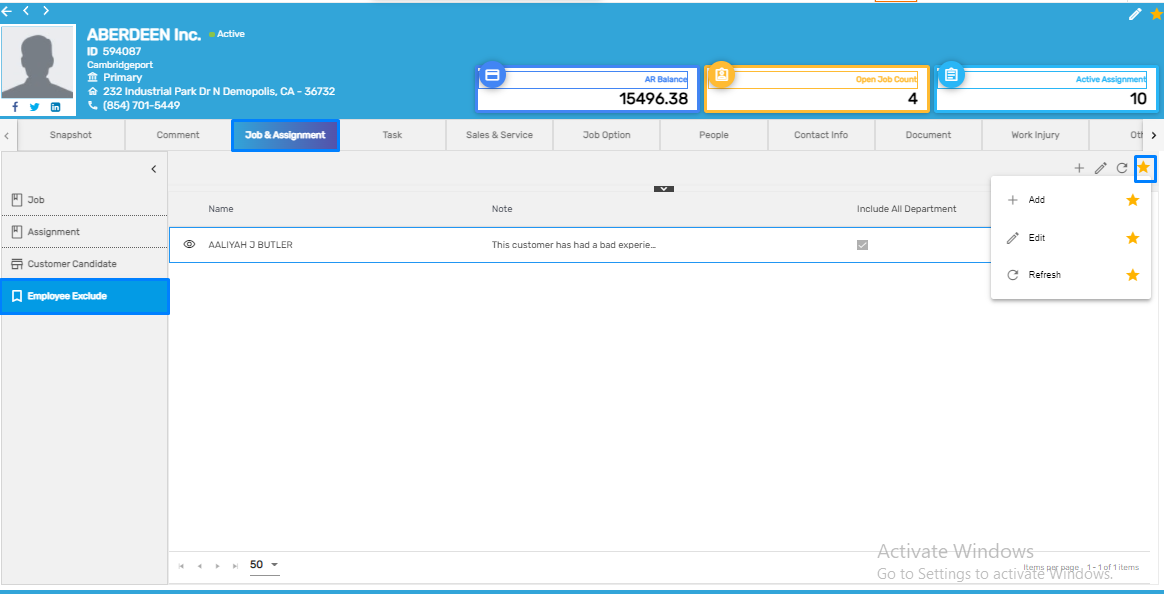
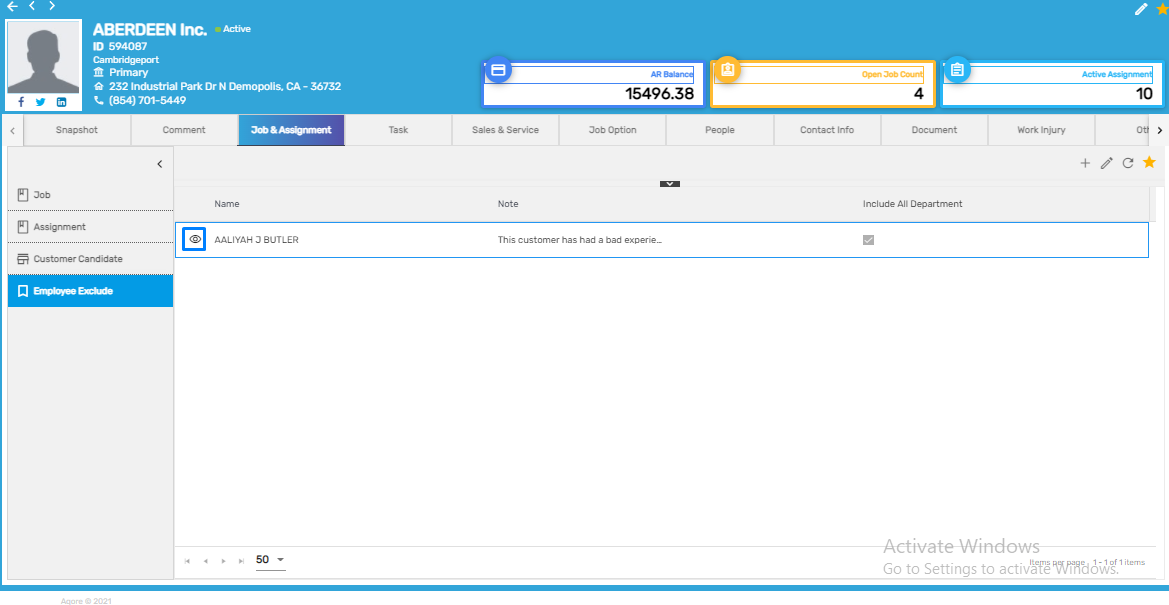
Employee Exclude Side Navigation Added
‘Employee Exclude’ side navigation has been added under the ‘Job & Assignment’ top navigation in the Customer Detail. It allows users to exclude or limit the specific employee for the assignment under the customer.
Favorite Actions
There are three actions under the Favorite icon. They are:
- Add
- Edit
- Refresh
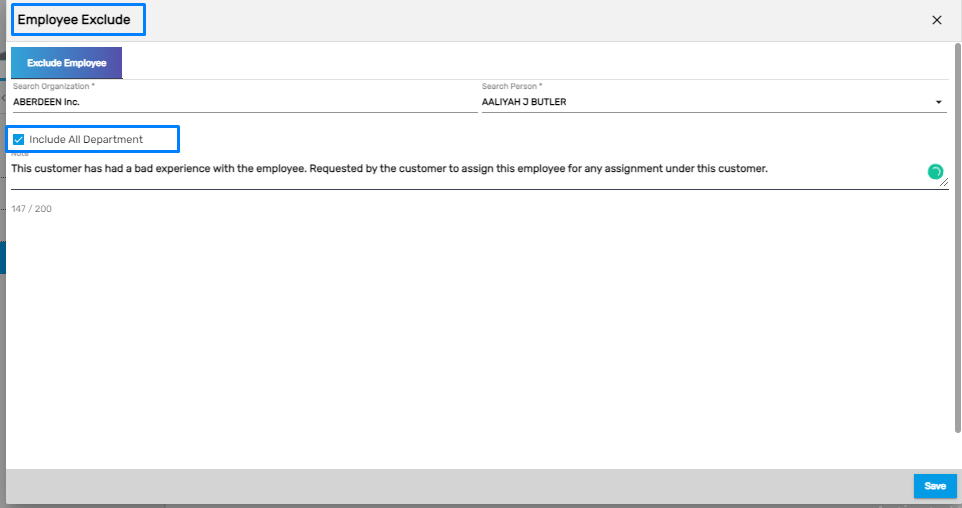
1. Add
It allows users to add the employee that needs to be excluded from an assignment under the customer. This completely tags the employee as ‘Do not send for assignment.’ for the customer. The user can checkmark the ‘Include All Departments’ to exclude the employee for the assignment under that customer in all the departments of that customer.
2. Edit
It allows users to edit the Employee Exclude details.
3. Refresh
It allows users to refresh the Employee Excluded records.
Eye View
The eye view icon allows the user to redirect to the employee’s profile.
Sorting Implemented in Job Grid
Sorting has been implemented in the Job grid of Job side navigation under Job & Assignment top navigation of the customer detail page. When users sort by 'Start Date,' jobs will be sorted either in Ascending or Descending order of the start date.
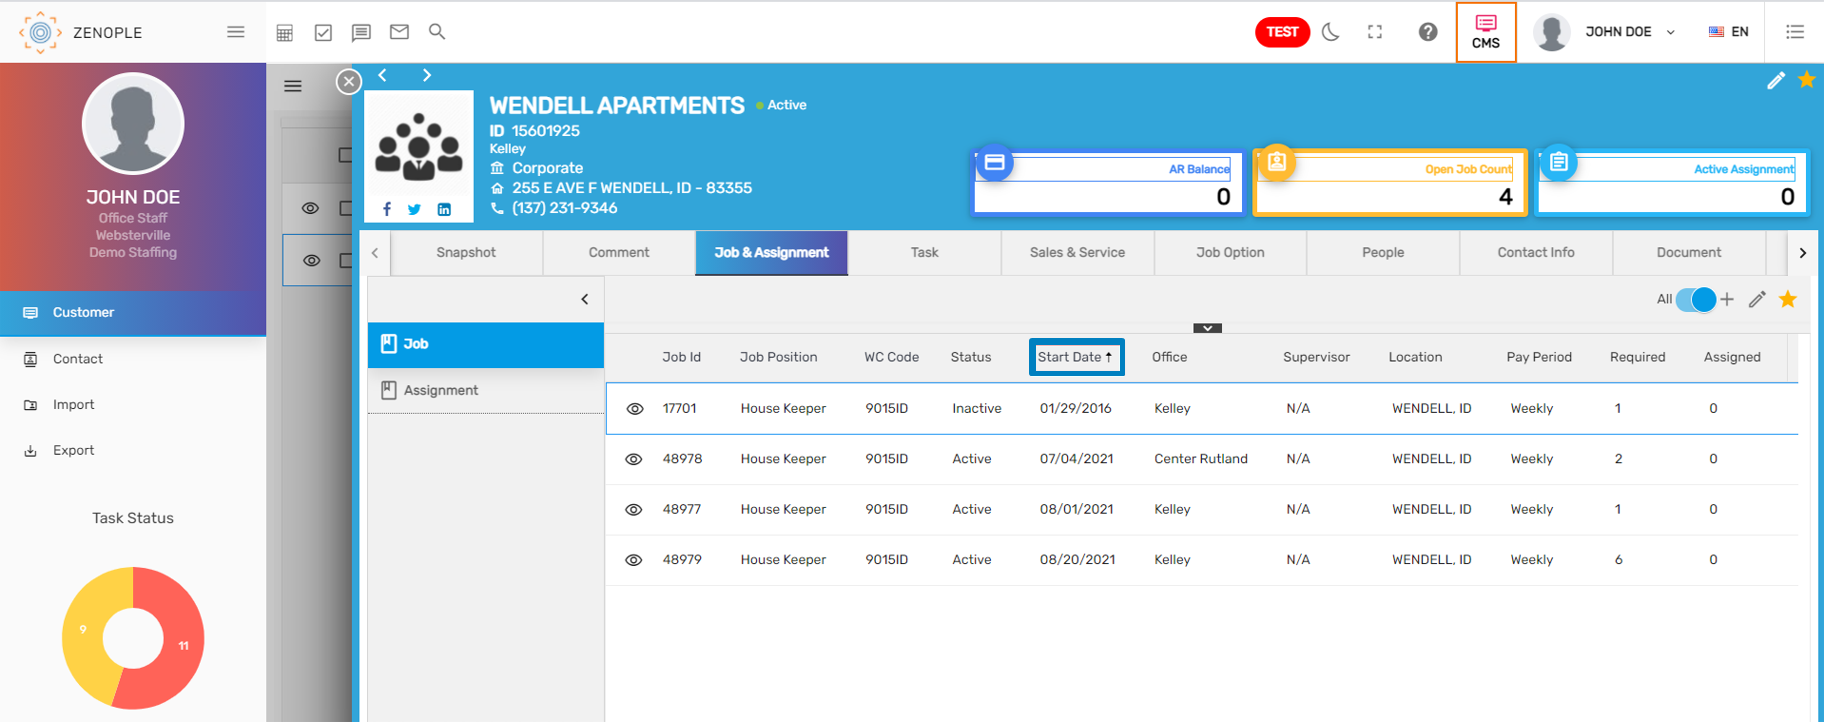 Similarly, users can sort jobs either by Job Id, Job Position field.
