Features Added on ATM
The V.21.4.0 features added on ATM are:
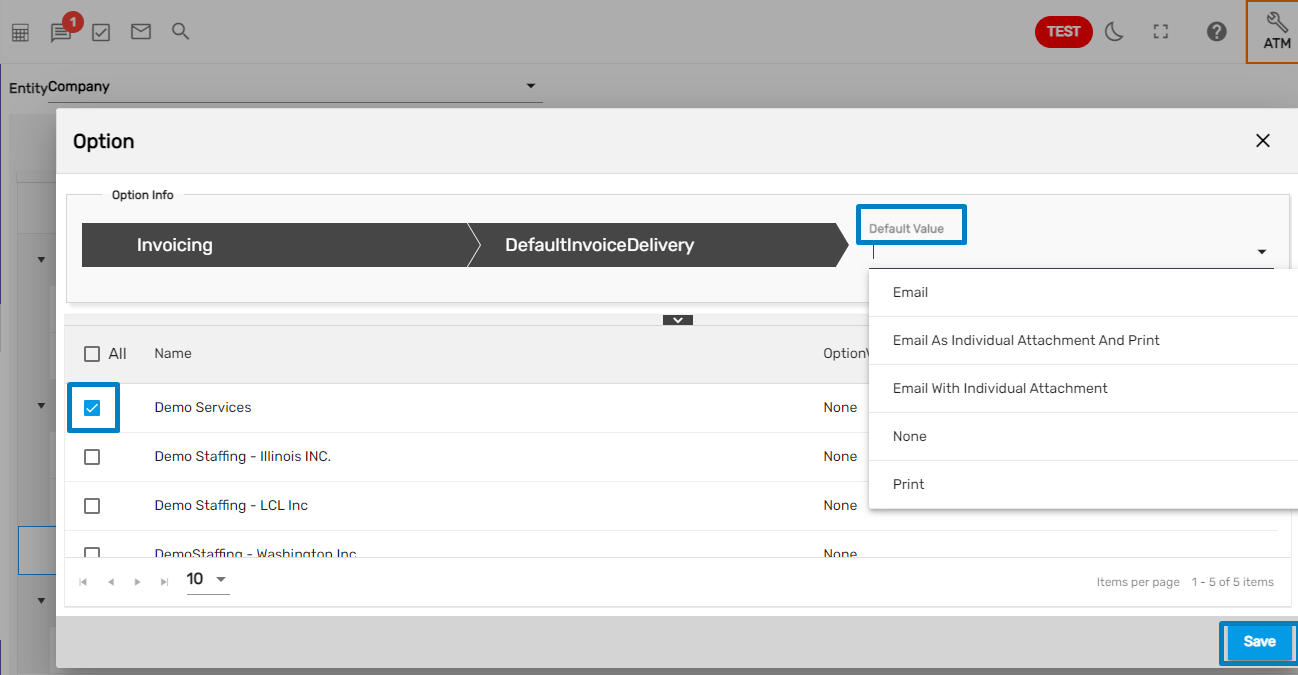
Default Invoice Delivery Option Property Added
At the organizational level, the 'Default Invoice Delivery' option property has been added in option 'Invoicing'. While adding/ editing the organizational service profile, this option property allows the user to handle default email delivery in the service profile. The value set on the option property will be the default Invoice Delivery Option in a Service Profile.
How to Use This Feature
- Click on Option external navigation and select 'Company' from the entity dropdown.
- Select 'DefaultInvoiceDelivery' in the Invoicing section under the Company Entity and click on the Edit icon to set up the property.

- Choose the option from the dropdown and check to mark the organization in which the changes are to be implemented then click on the Save button.
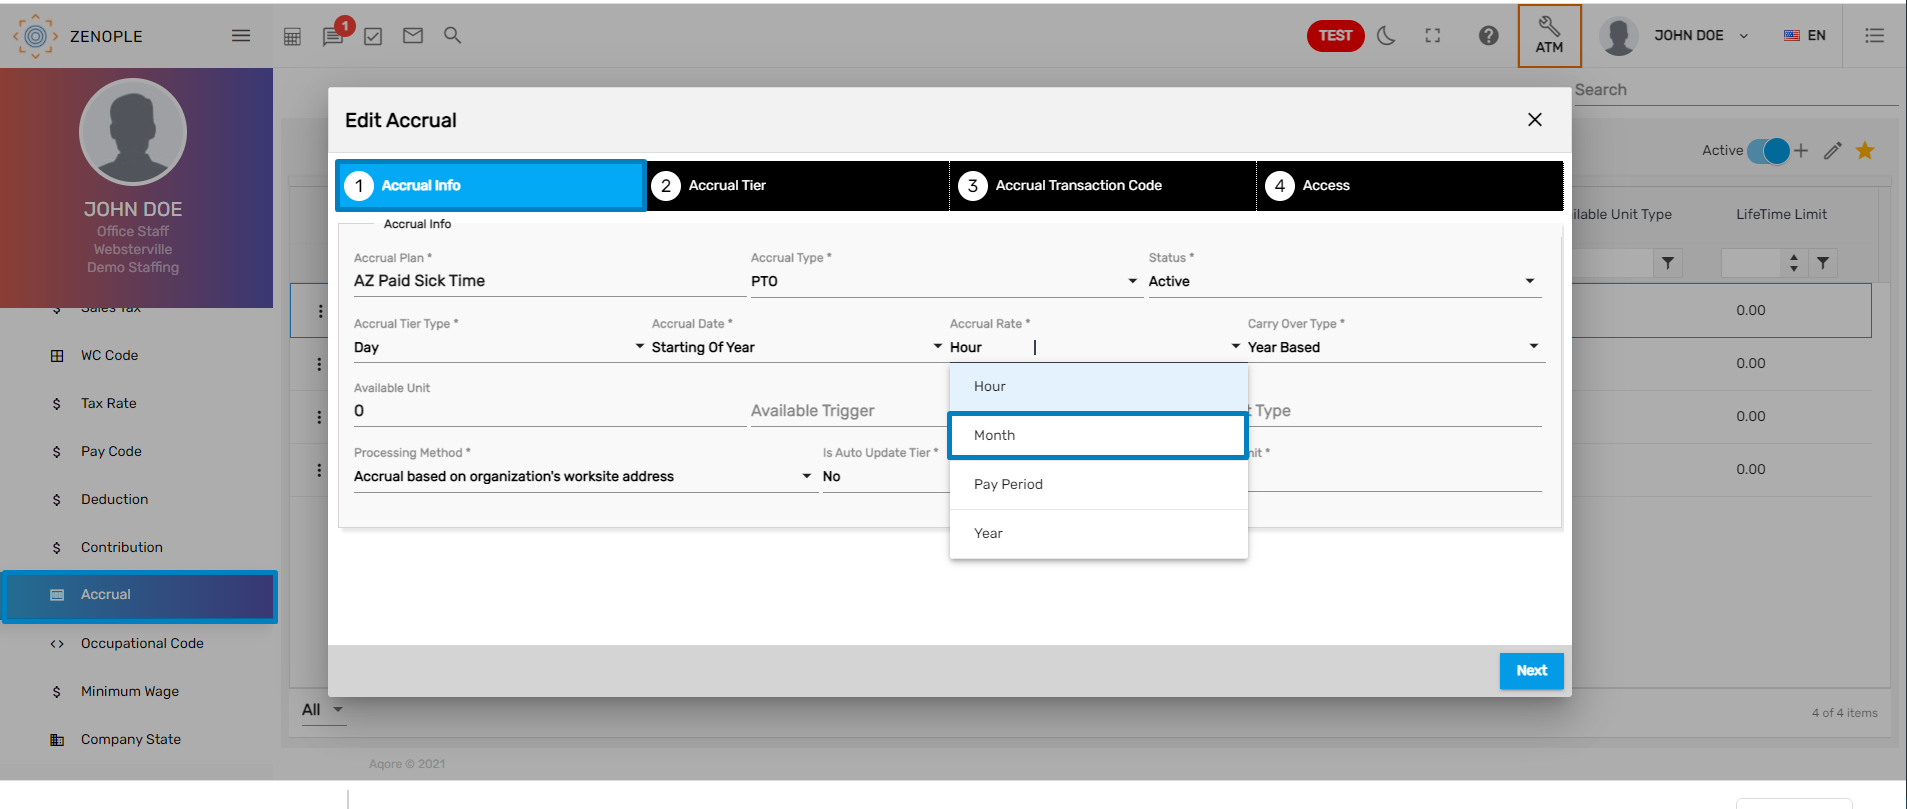
Month Option Added on Edit Accrual
The new option, 'Month' has been added under the Accrual Rate drop-down that will appear while adding/ editing Accrual.
This calculates the accrual rate monthly.
Update/ Change Confirmation Page Image
The user can change/ update the confirmation page image.
How to Use This Feature
- Go to Settings, select the company and click on Upload Logo from the favorite icon.
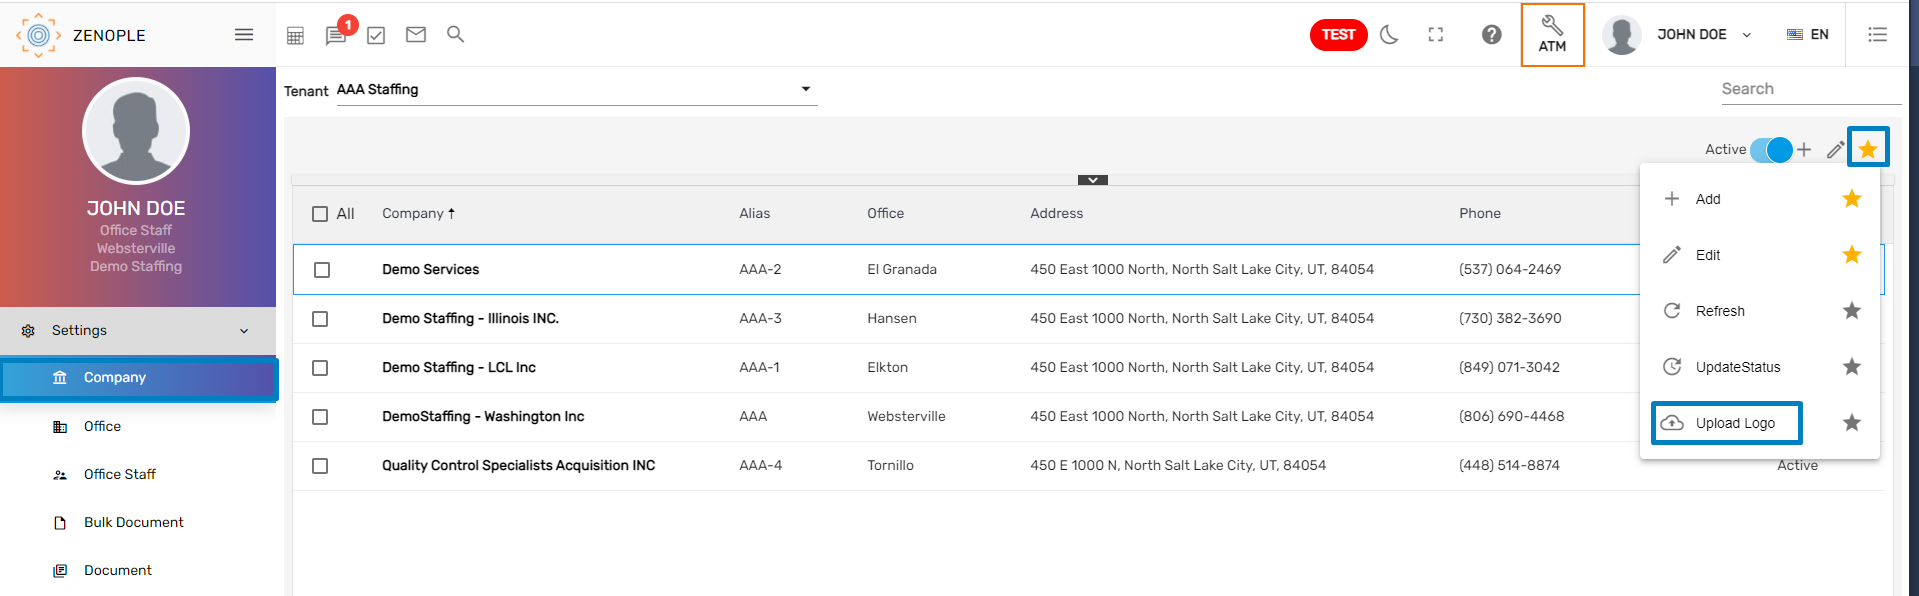
- Choose 'Confirmation Page Logo' from the dropdown.
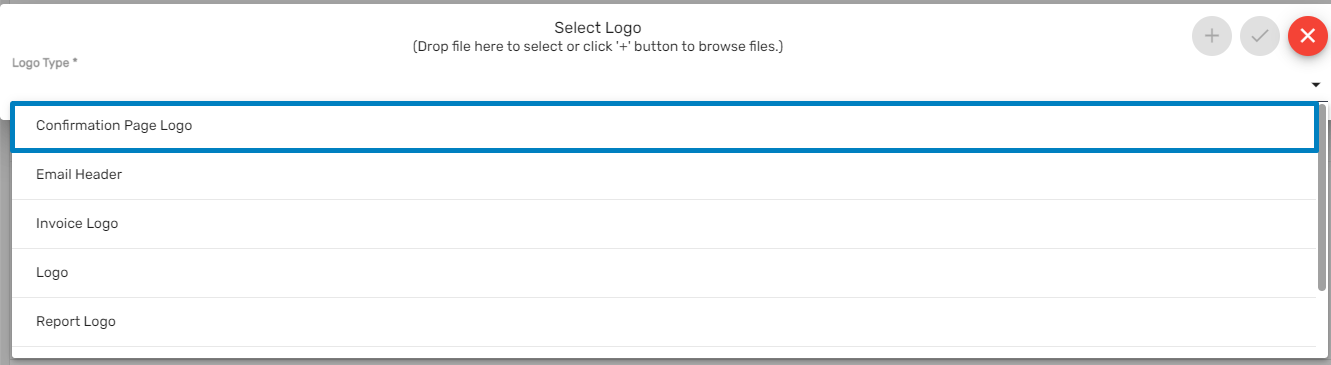
- If an old image isn't uploaded, upload the image. If users need to change the previously uploaded image, click on the cross icon and upload the image as required.

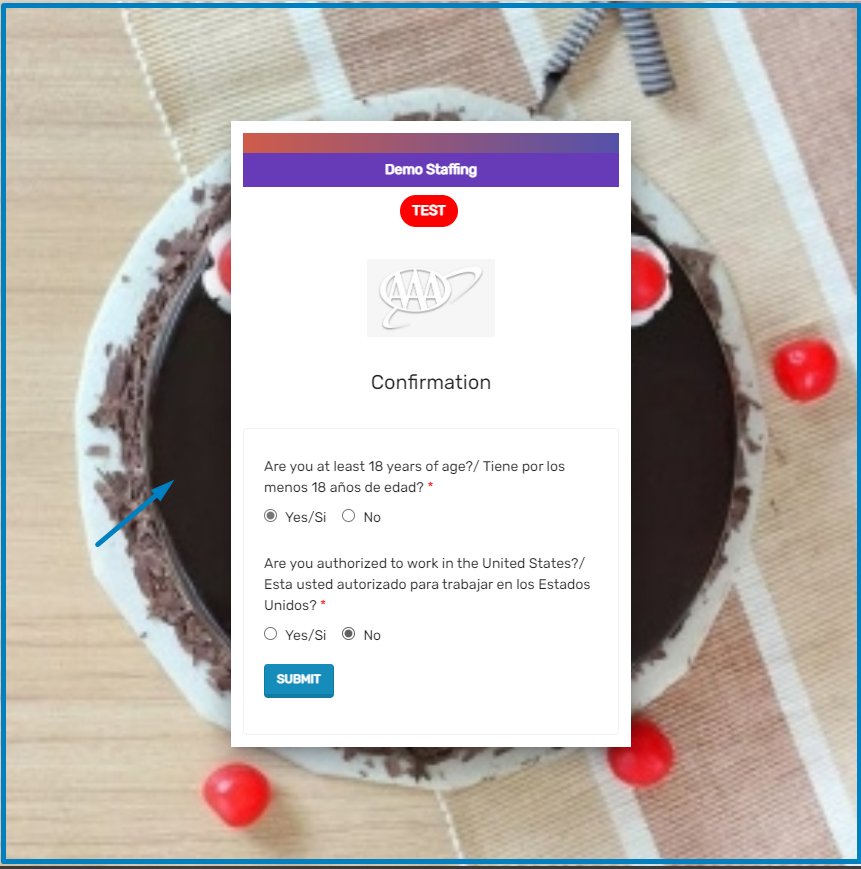
- After uploading the image, Save the image.

- The newly updated image will be displayed on the confirmation page of the applicant.
Utility Report as a Separate Report Added
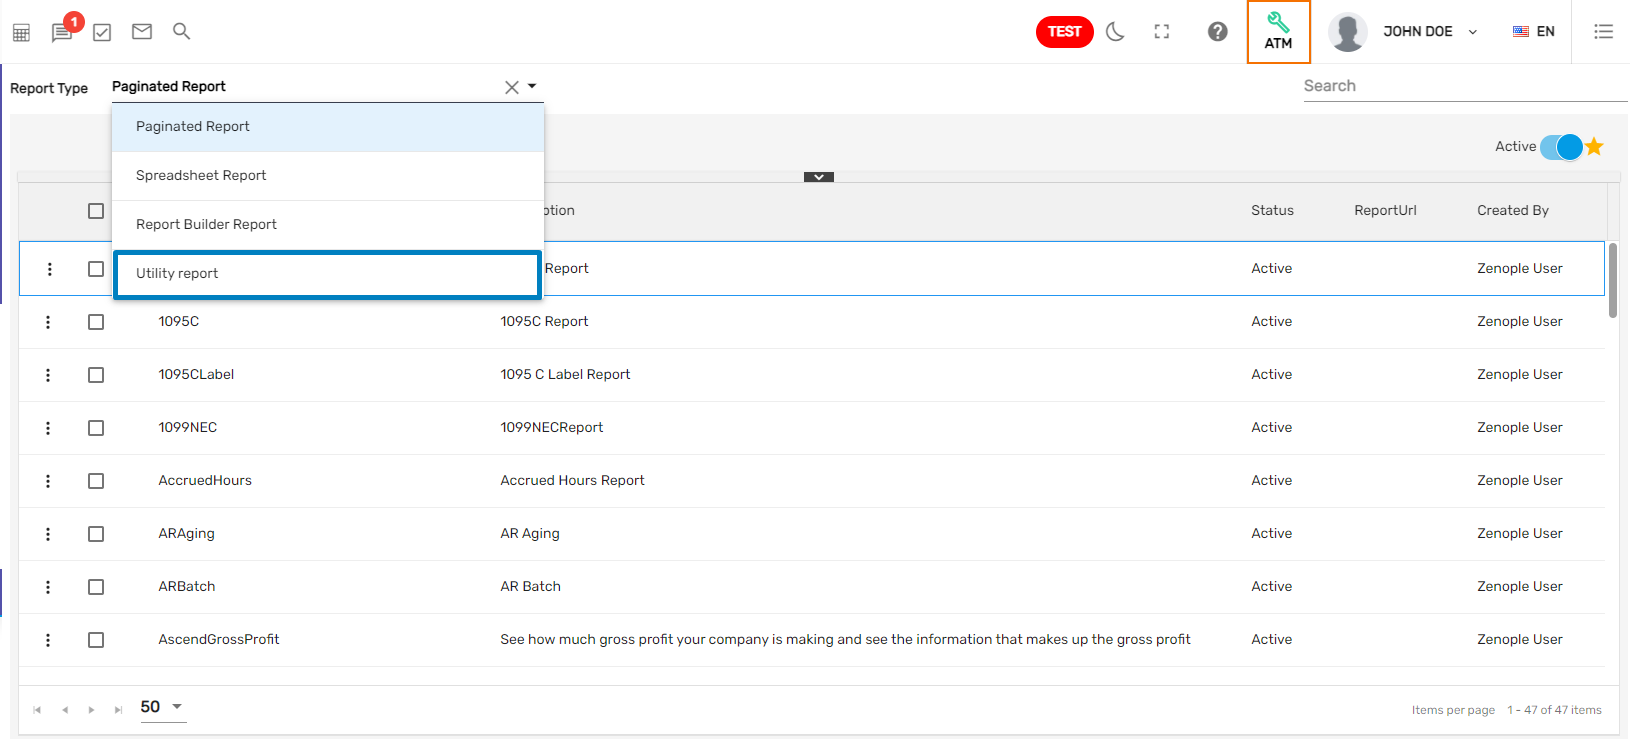
Earlier, the Utility Report was displayed under the Spreadsheet Report. Now, the 'Utility Report' has been implemented as a separate report option and is displayed in the Report Type dropdown. When running these kinds of reports the actual records get changed. Reports like Employee Merge falls under this type.
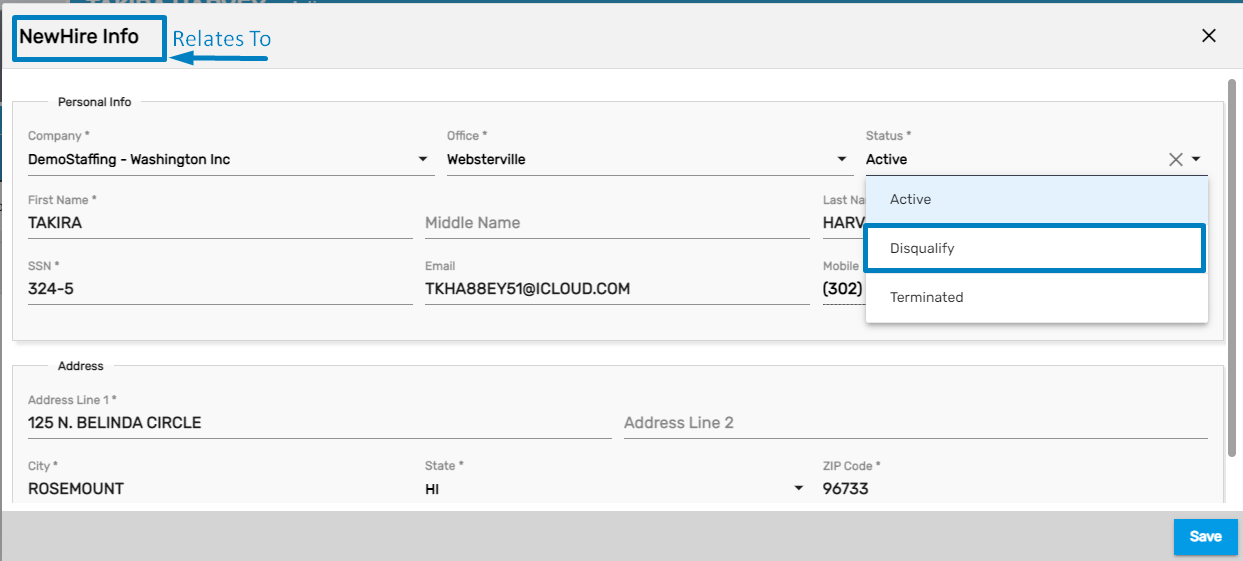
List Item Navigation Implemented
List Item mostly refers to the Drop-Down values. List Item will be displayed according to the category selected. A list item can be added under any category and edit is not allowed for the System Level’s List Item.
How to Use This Feature
- Go to the ATM application and click on List Item external navigation.
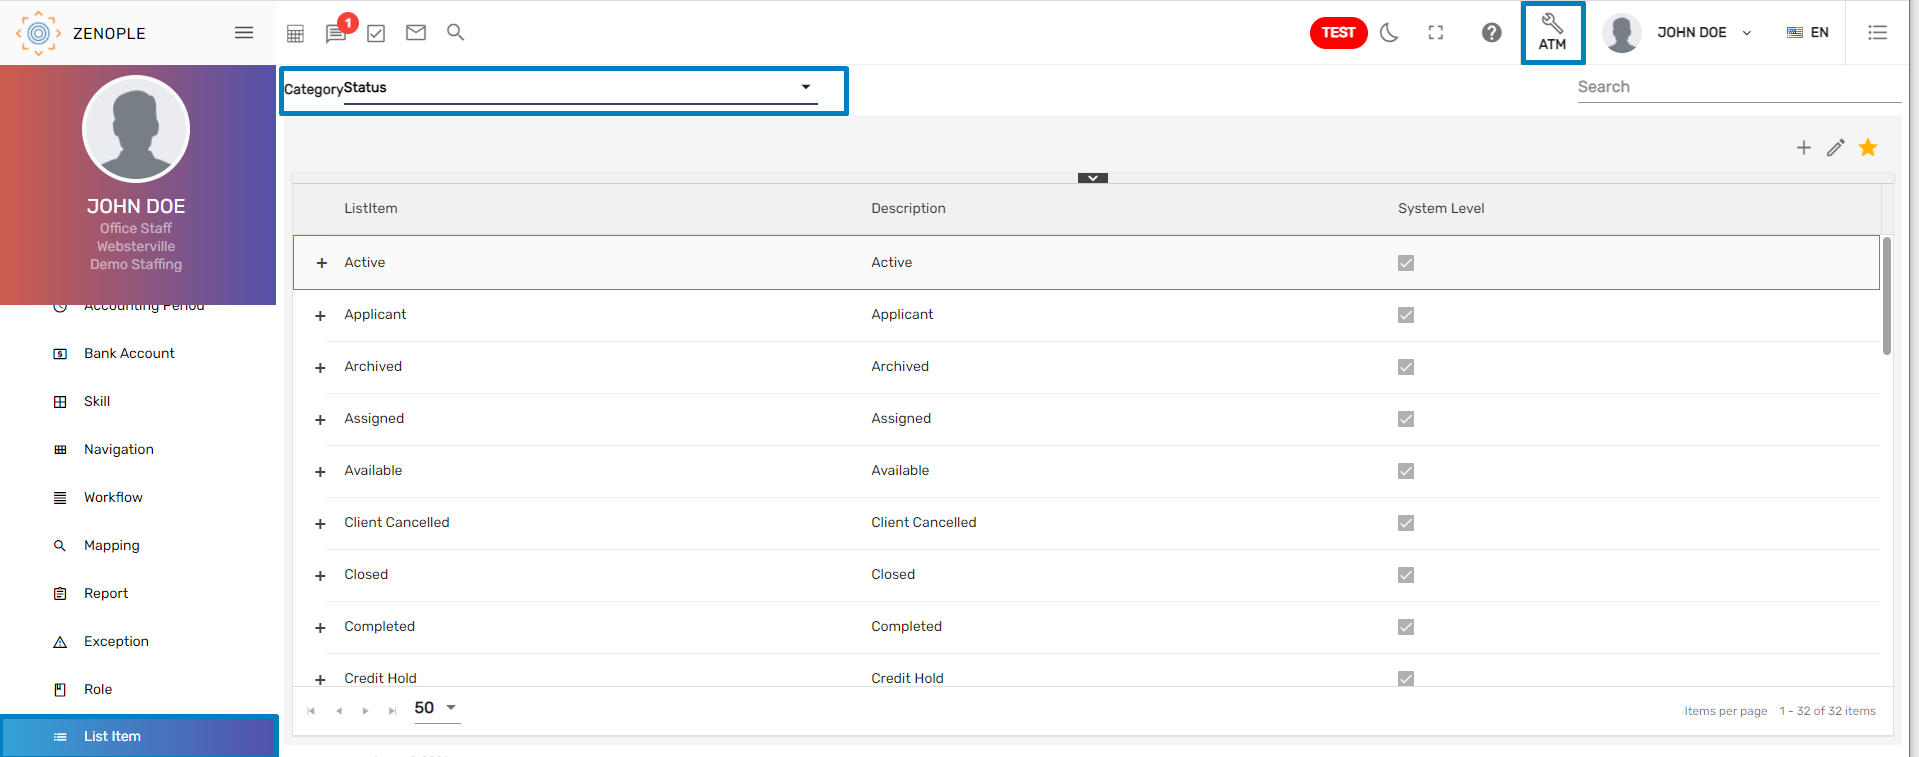
- Select the required category and click on Add icon.
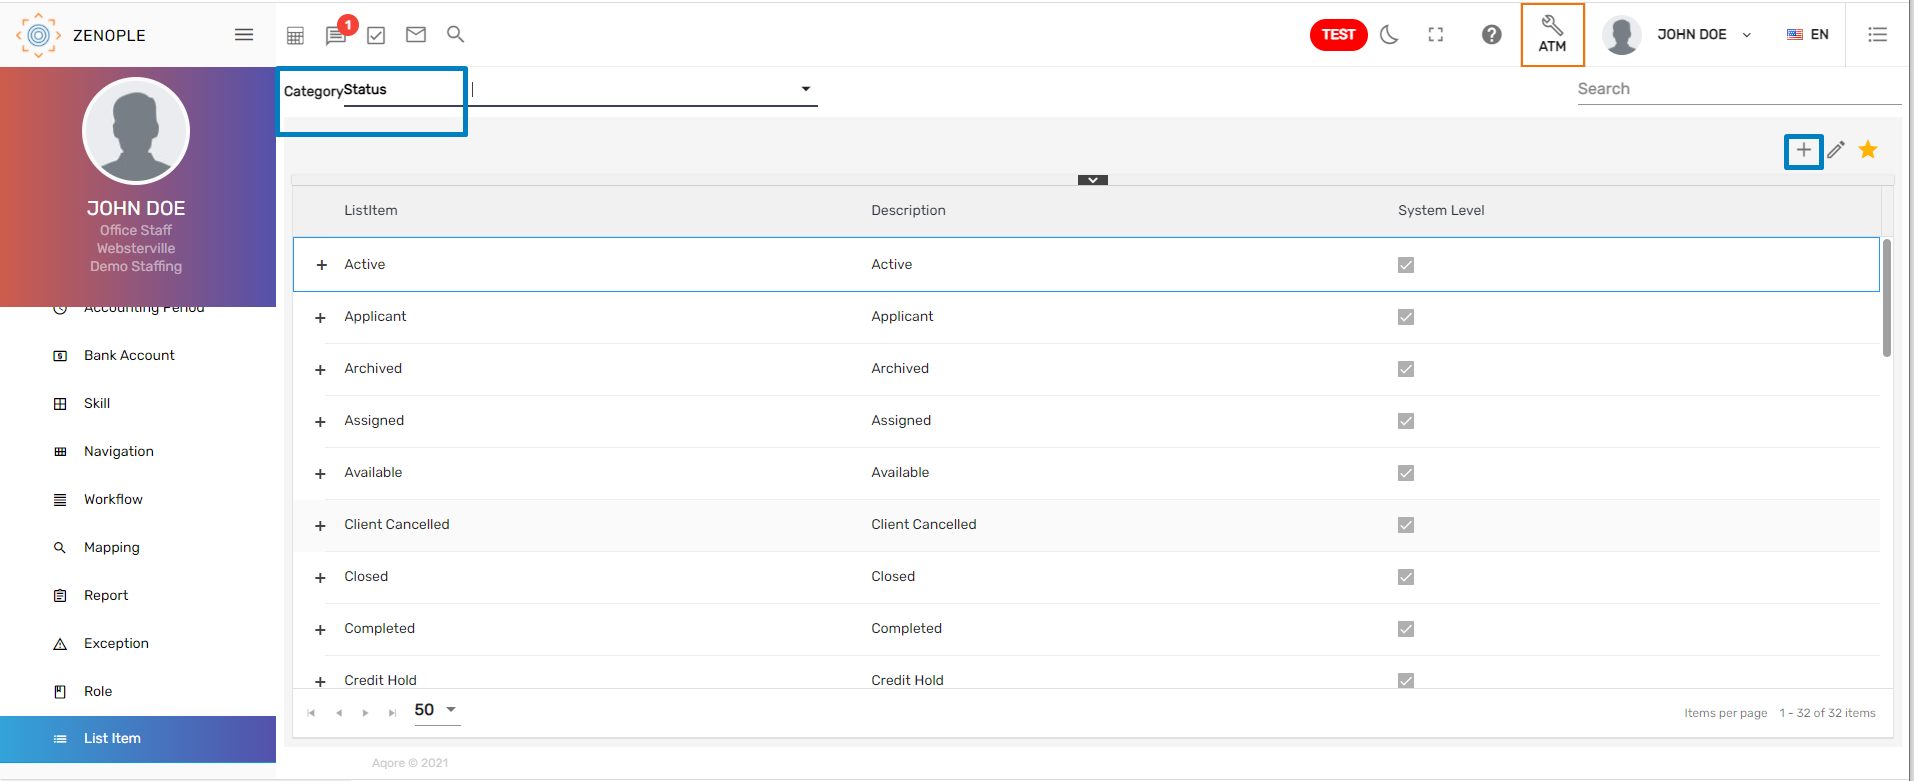
- Upon clicking the '+' icon, a dialog box opens, allowing users to add detail to the List Item.
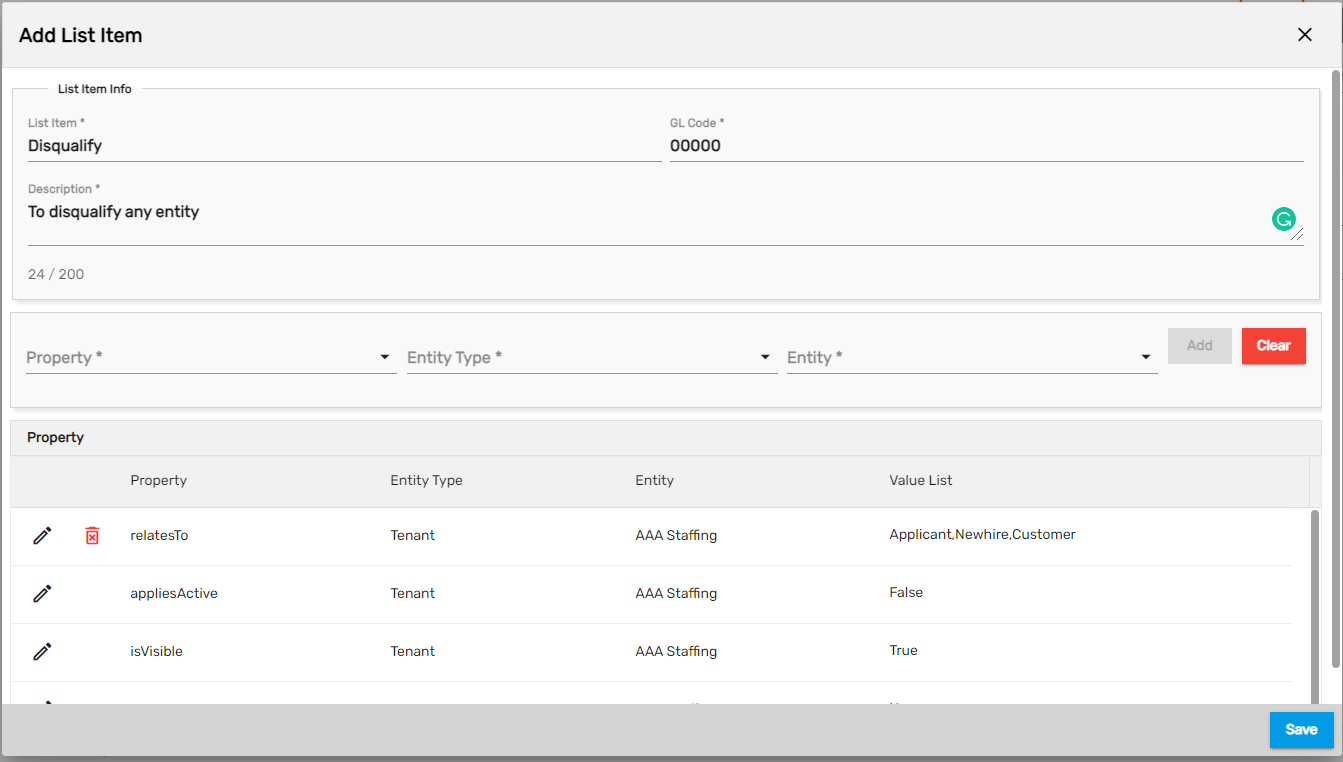
- Enter List Item name, GL Code (If unknown set it to 0), Description.
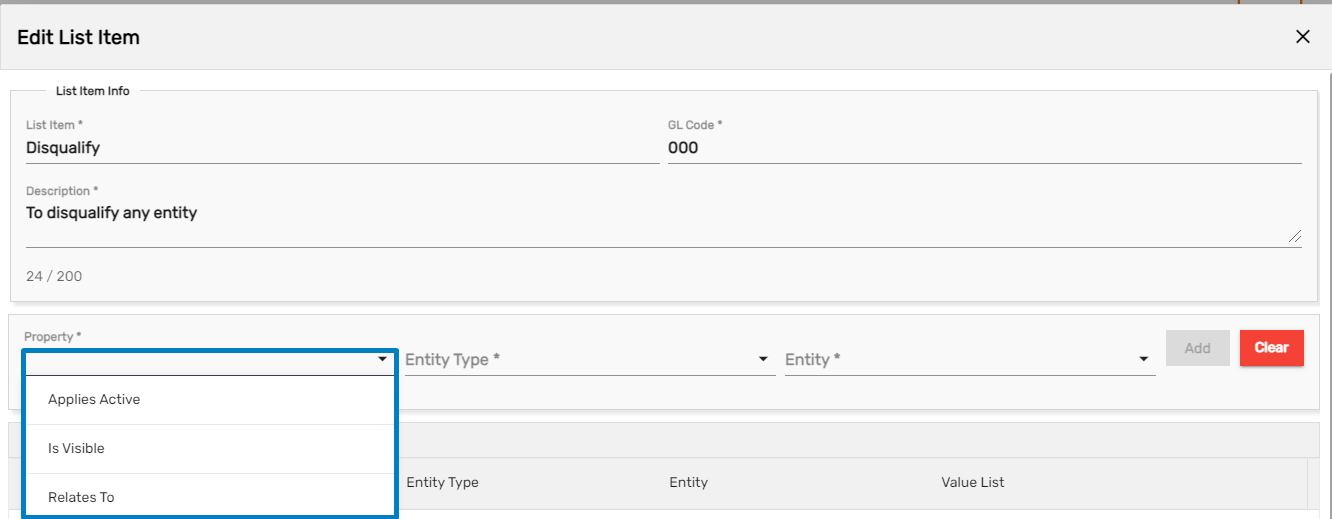
There is a section named Property which is used to set property of those list items. One property must be mandatorily set when adding any list item.
- 'IsVisible' is used to show and hide list the values under any category.
- 'Relates To' holds those values where the List Item is to be shown.
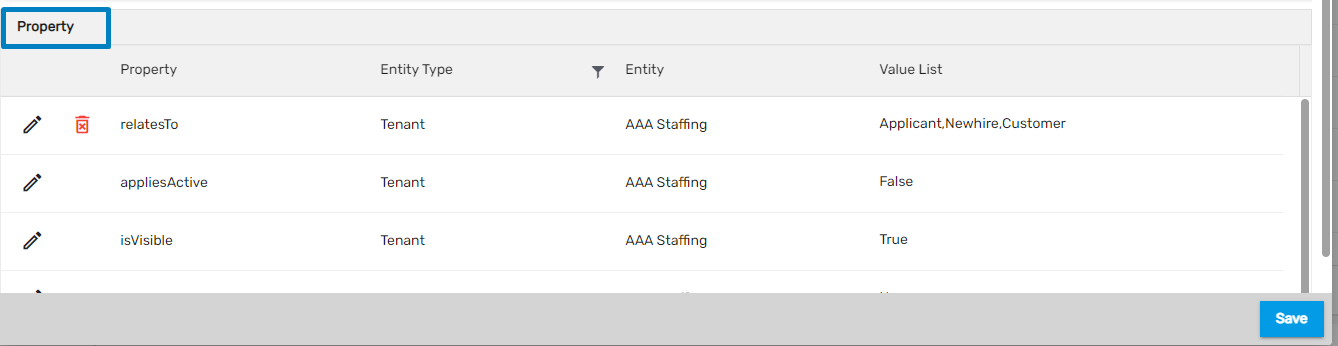
- If any of the properties are not listed by default, the further property can be added too.
- Click on the Save button.
- An added list item can be seen under the added category.
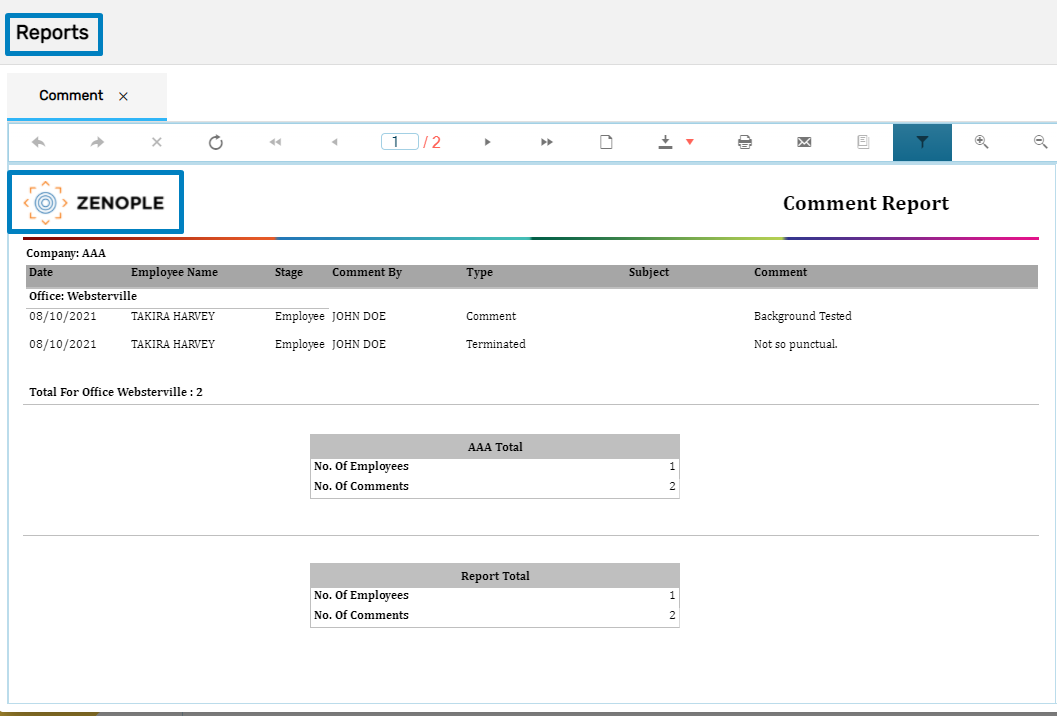
Report Logo Option Implemented
When the user uploads the logo and sets it up as 'Report logo' from Company navigation, the same logo will be displayed in all the paginated reports at the top.
How to Use This Feature
- Go to Company navigation, click on favorite icon and select 'Upload Logo.'
- Choose 'Report Logo' from the dropdown and upload the logo.
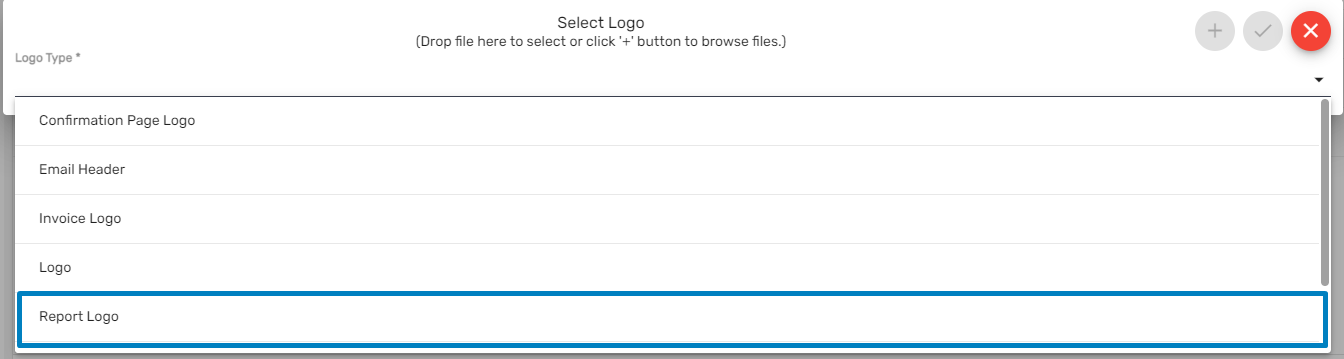

Now, the uploaded report logo will be displayed in all the reports of the organization.
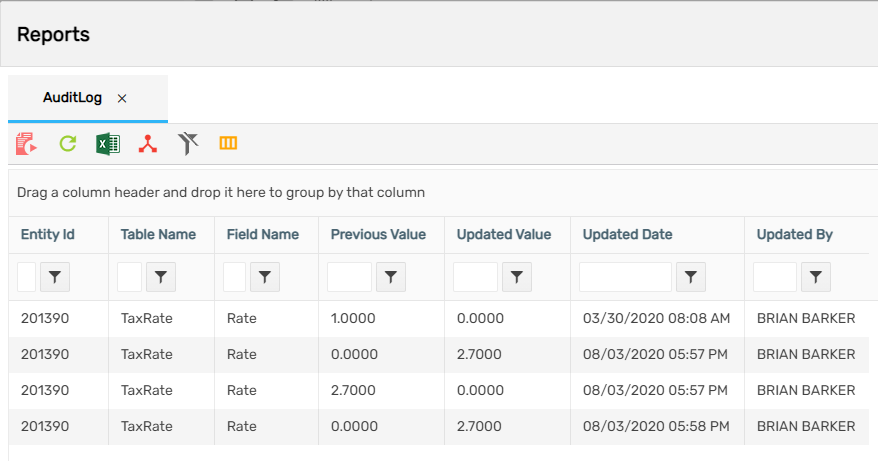
Audit Log Report Implemented
The Audit Log report can be directly previewed from the Tax Rate Summary page.
How to Use This Feature
- Go to Tax Rate navigation and choose the company from the dropdown.
- Click on the vertical ellipsis of the Tax and click 'Open Audit Log Report.'
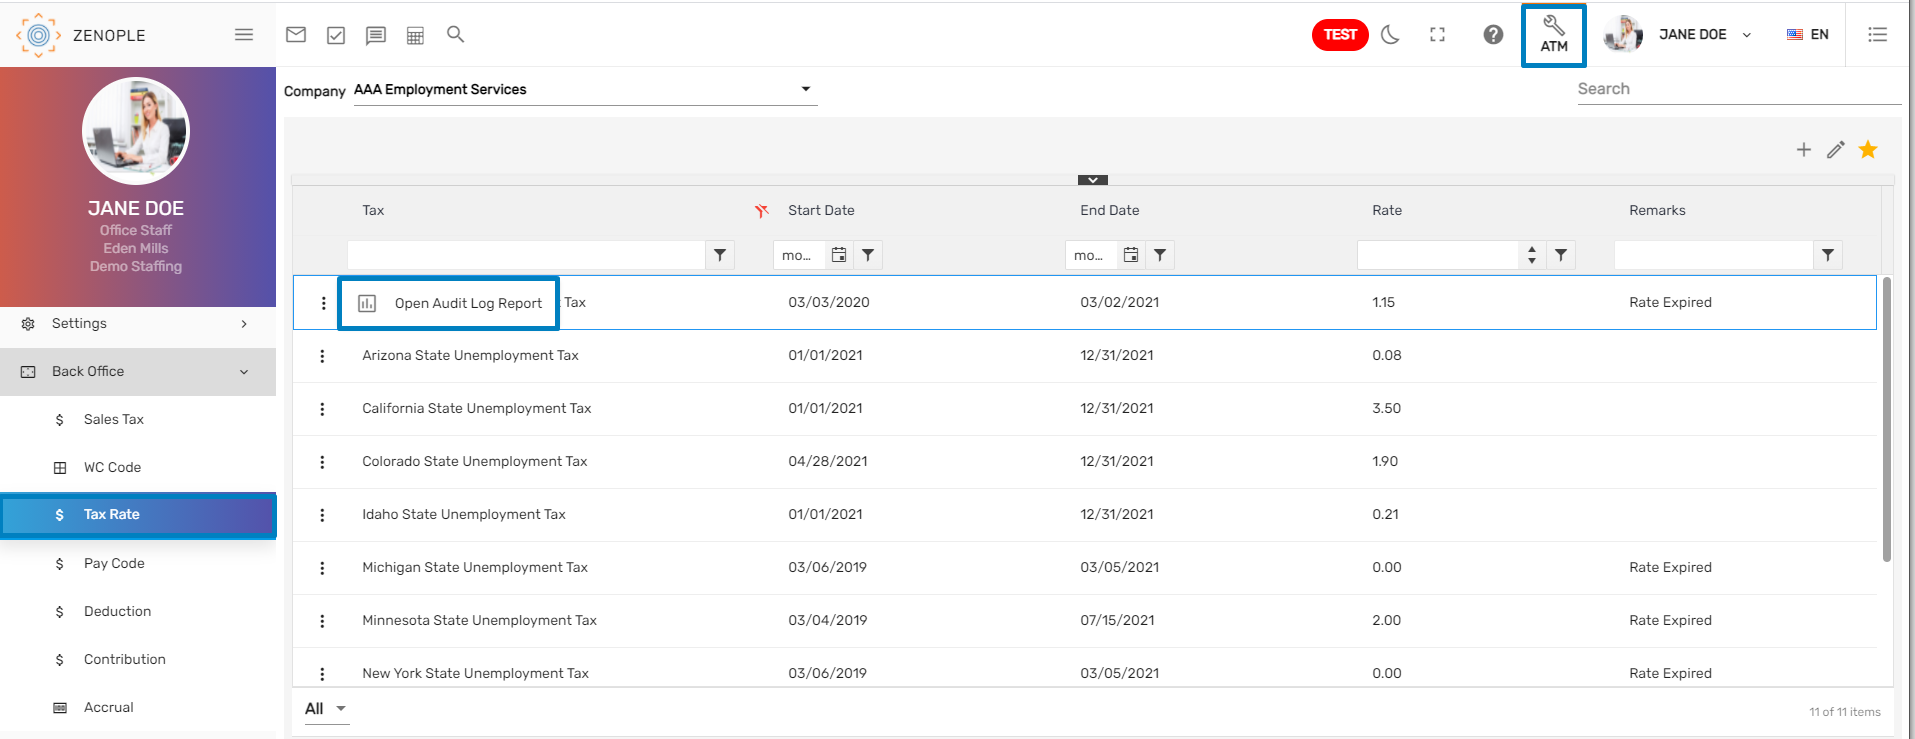
- The Audit Log report will be displayed as below.
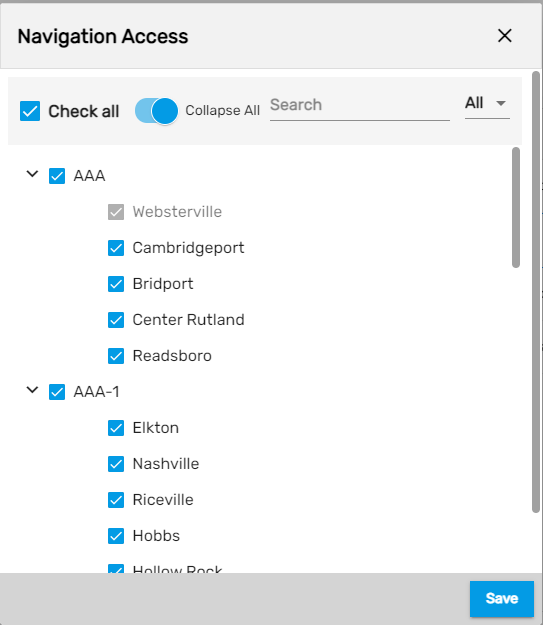
Navigation Access UI Implemented
Navigation allows the user to set up various navigations that will be displayed on the Customer Portal and New Hire Portal.
How to Use This Feature
- Click on navigation and select the portal from the dropdown.

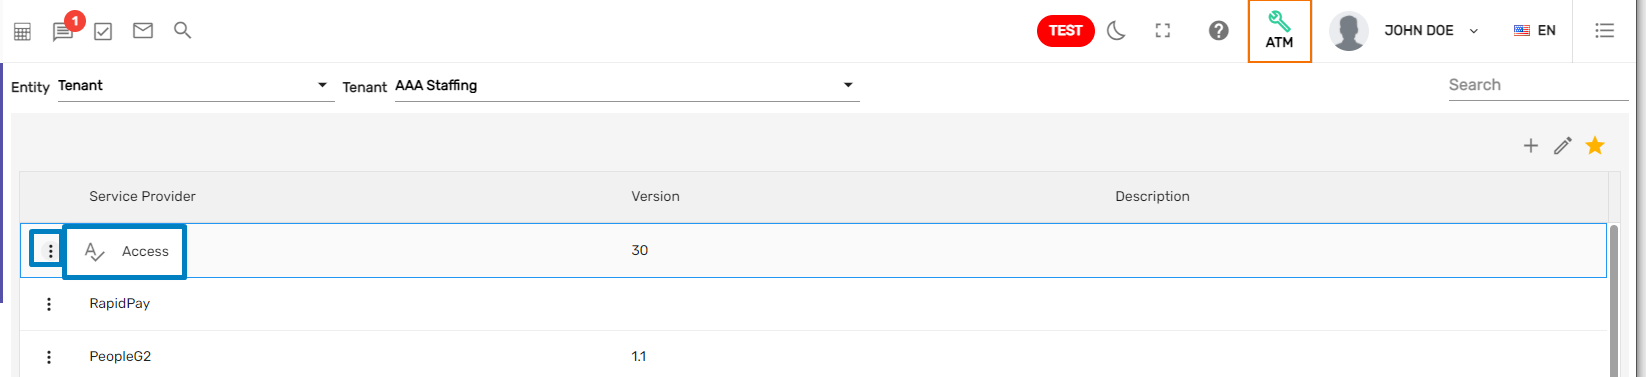
- Select the navigation, click on the vertical ellipsis icon and click on Access.

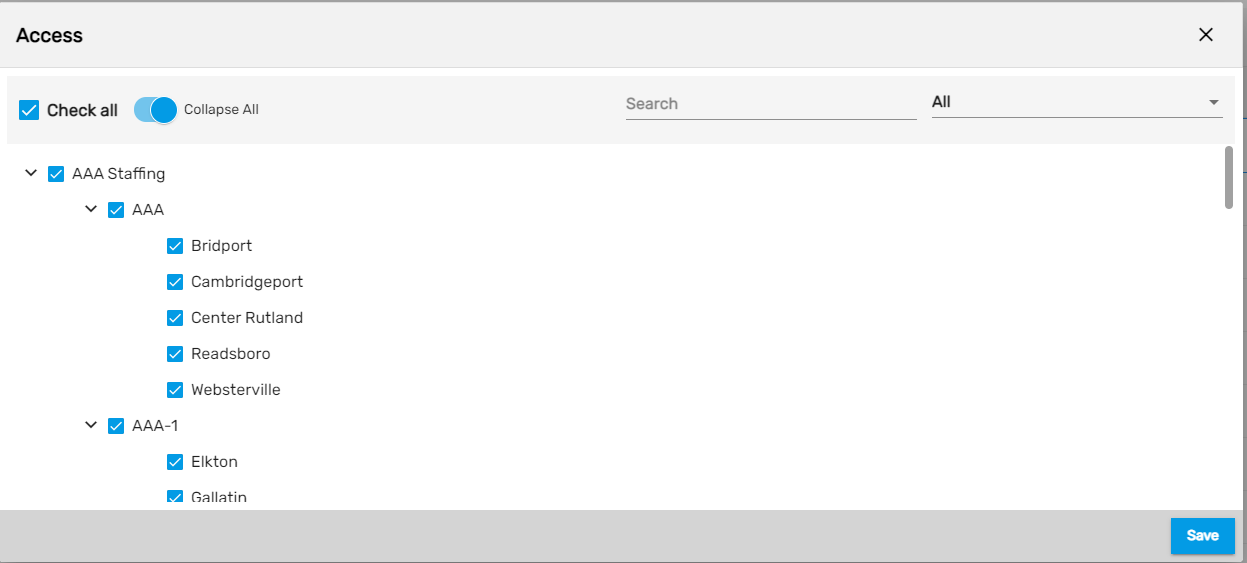
- Checkmark the offices that need to have access to the navigation in the portal and click on the Save button.
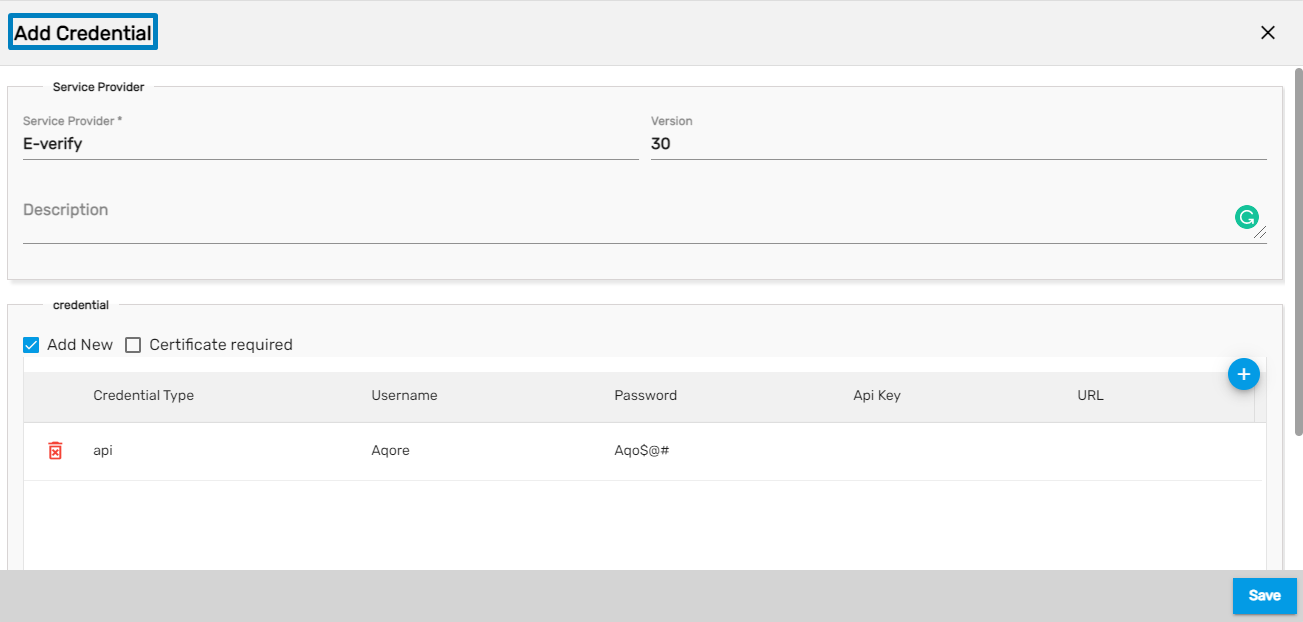
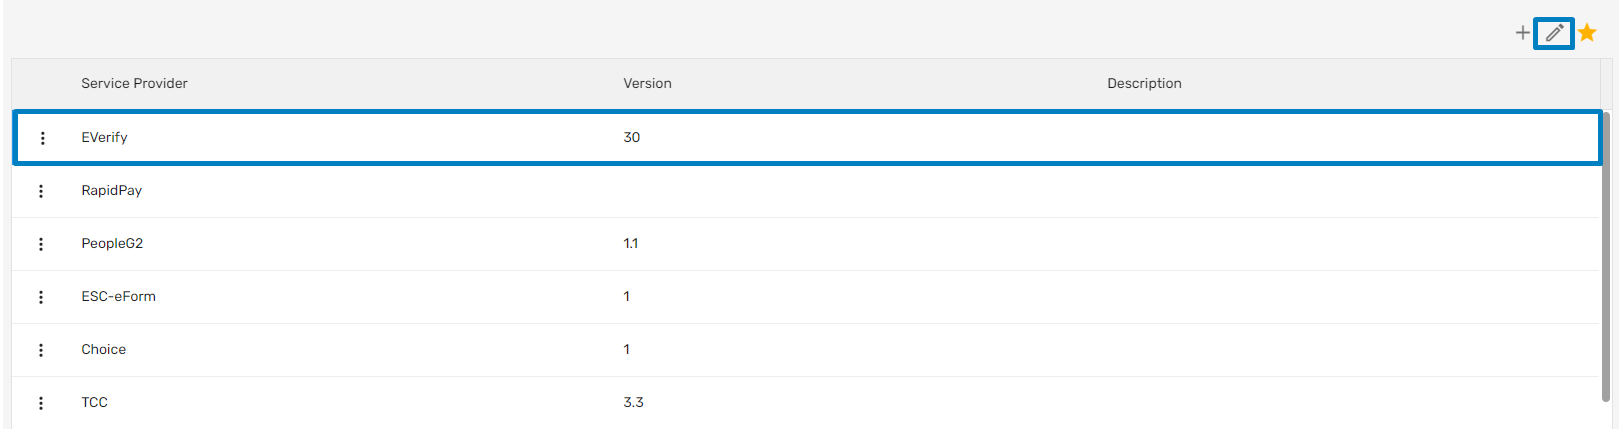
Credential Manager Implemented
This navigation allows the user to add various third-party’s credentials information.
How to Use This Feature
- Go to Credentials Manager navigation.
- Select the Entity from the dropdown and click on Add icon.

- Enter the details as required.
- Click on the Save button.
- Click on the Edit icon to edit the credentials details.
- The user can manage the accessibility by clicking on the vertical ellipsis and select 'Access.'
- Checkmark the company and offices that need to have access to this and click on the Save button.
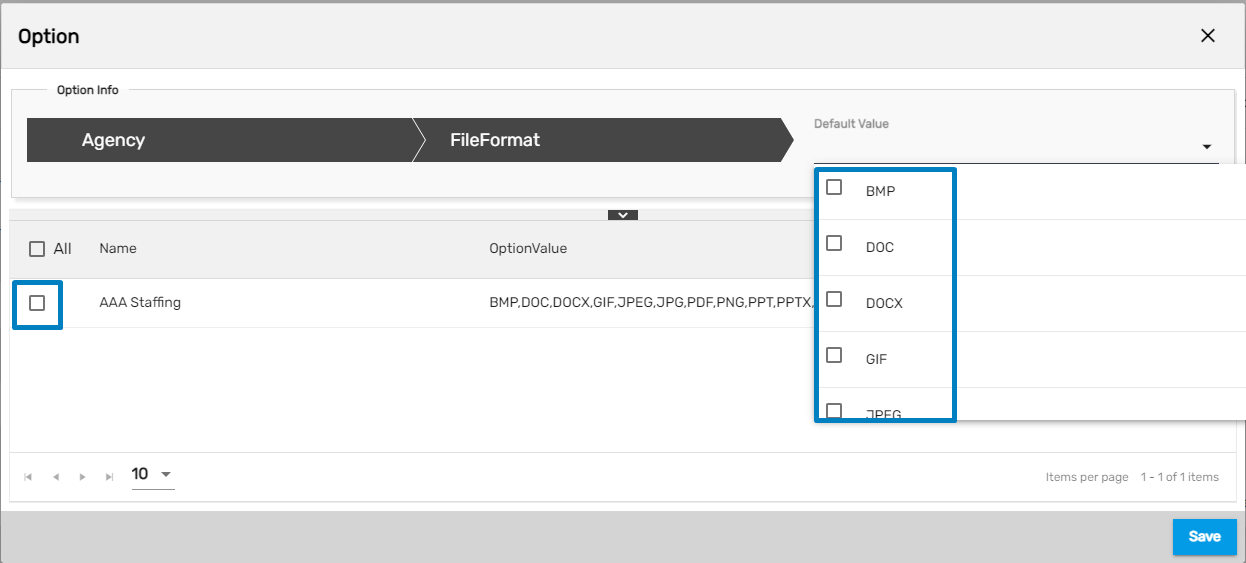
File Format Managing Option Property Added
The format of the document in the overall application can be handled from the options property. This property is under Tenant level.
How to Use This Feature
- Select 'Tenant' from the dropdown and select the 'File format' property under Applicant level and edit it.
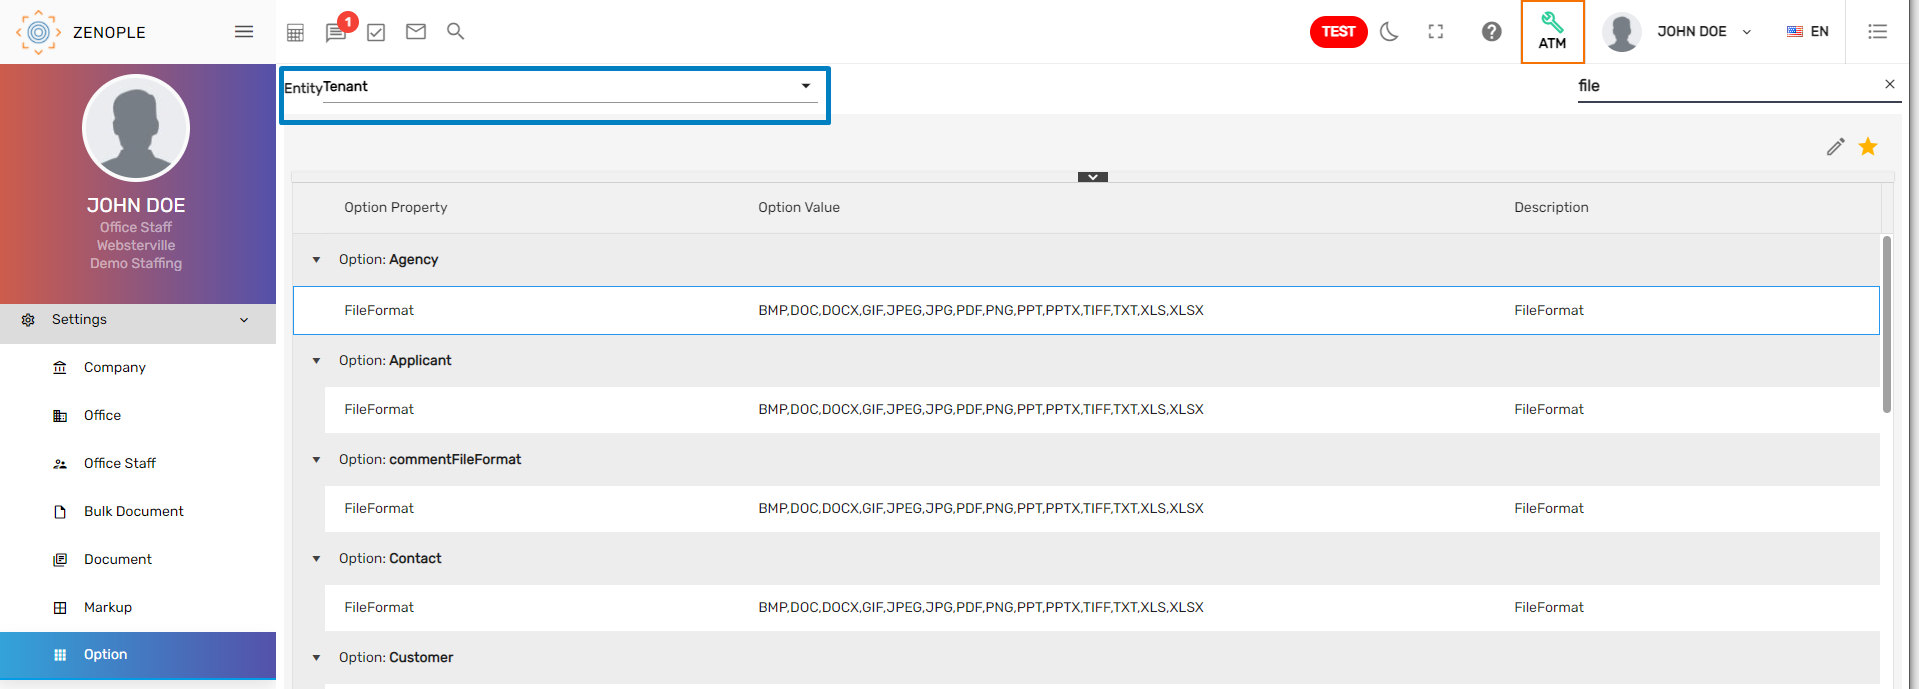
- There are various file formats in the dropdown. Checkmark the eligible formats as required, and choose the organization that needs to have access to this setup.
- Click on the Save button.